
Small Grocery POS Hardware Setup: Terminal, Scanner, Printer, Cash Drawer and Scale
A small grocery counter has less room for configuration mistakes than a large store.
Every terminal, scanner, printer, drawer and weighing step must fit the counter and the product flow.
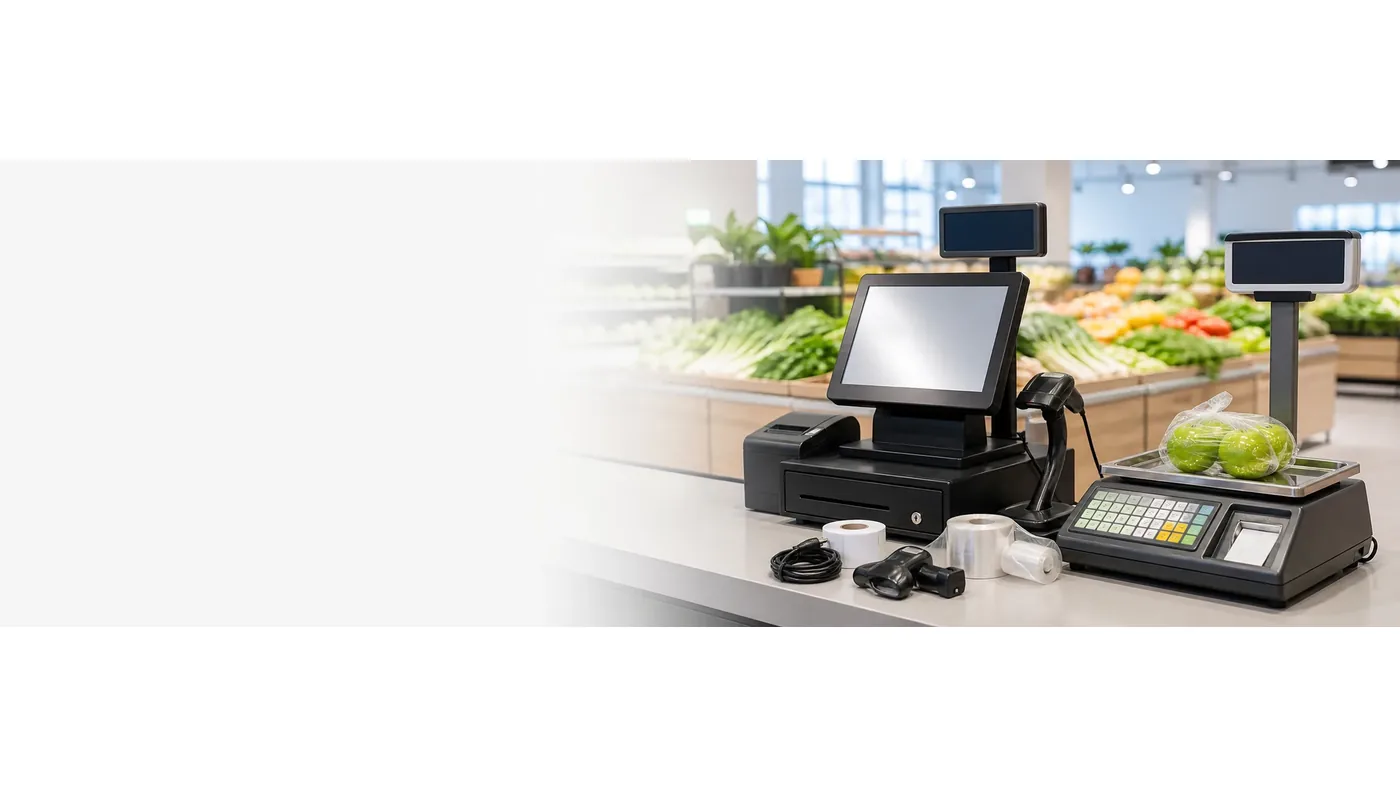
For a small grocery store, a grocery POS hardware setup is a work-surface and workflow problem before it is a shopping list. The terminal must leave room for products, the scanner must be reachable, the printer must be serviceable, the cash drawer must open safely, and a weighing workflow must not block the queue.
A useful small grocery store POS system hardware plan therefore starts with the counter and the transaction sequence. It then selects the terminal, scanner, printer, drawer and scale around that sequence. This avoids buying separate devices that look compatible on paper but create awkward hand movements or missing data between steps.
Common grocery configuration questions
- What are the counter width, queue direction and staff position?
- Does the store need a terminal, scanner, printer and drawer only?
- Are weighed goods or printed labels part of the transaction?
- Where will the payment device, power and network cables go?
- What should be tested before the quote becomes an order?
Long-tail searches such as grocery POS terminal and scanner, POS printer cash drawer setup, grocery retail weighing scale and small grocery POS hardware setup describe separate choices inside one checkout scene. The article should answer each choice in context.
Start with the counter and the product family
The manual provides several relevant product families. Practical terminals such as F1 include a built-in barcode scanning platform and 58 mm thermal receipt printer. H193A and H193W retail checkout scales include a 15 kg capacity and 5 g graduation in the standard weighing specification, with optional scanning windows, label printers and other weighing capacities available by project. The correct starting point depends on whether the store scans ordinary packaged goods, weighs fresh goods, or does both.
Counter workflow
Terminal + scanner + printer
Weighing workflow
Scale + label or receipt step
Do not treat a retail checkout scale as a normal POS terminal with a larger base. Its weighing pan, column, printer and scanning window affect the operator’s hand position and the available counter space. The quotation should identify which workflow the buyer is actually approving.
Five checks for a small grocery POS hardware setup
1. Measure the counter, queue and power route
Record the available width, depth and working height before choosing hardware. A narrow counter may need a compact terminal or a different printer and drawer position; a longer counter may allow a separate scale and scanner but still needs a clear queue route.
- Terminal footprint and staff standing position.
- Product infeed and bagging space.
- Printer paper access and drawer swing.
- Power adapter, network cable and cable protection.
- Cleaning and service access.
2. Match the terminal and scanner to the transaction
A grocery POS terminal and scanner should be selected by what the operator scans and how the software receives the item. A built-in platform such as F1 may suit a staffed counter; a separate scanner may be easier to reposition when the counter layout changes.
- Packaged goods and printed 1D codes.
- QR or loyalty codes if required by the application.
- Scanner position relative to the display and products.
- Scanner cable or wireless recovery plan.
- Application response after a successful scan.
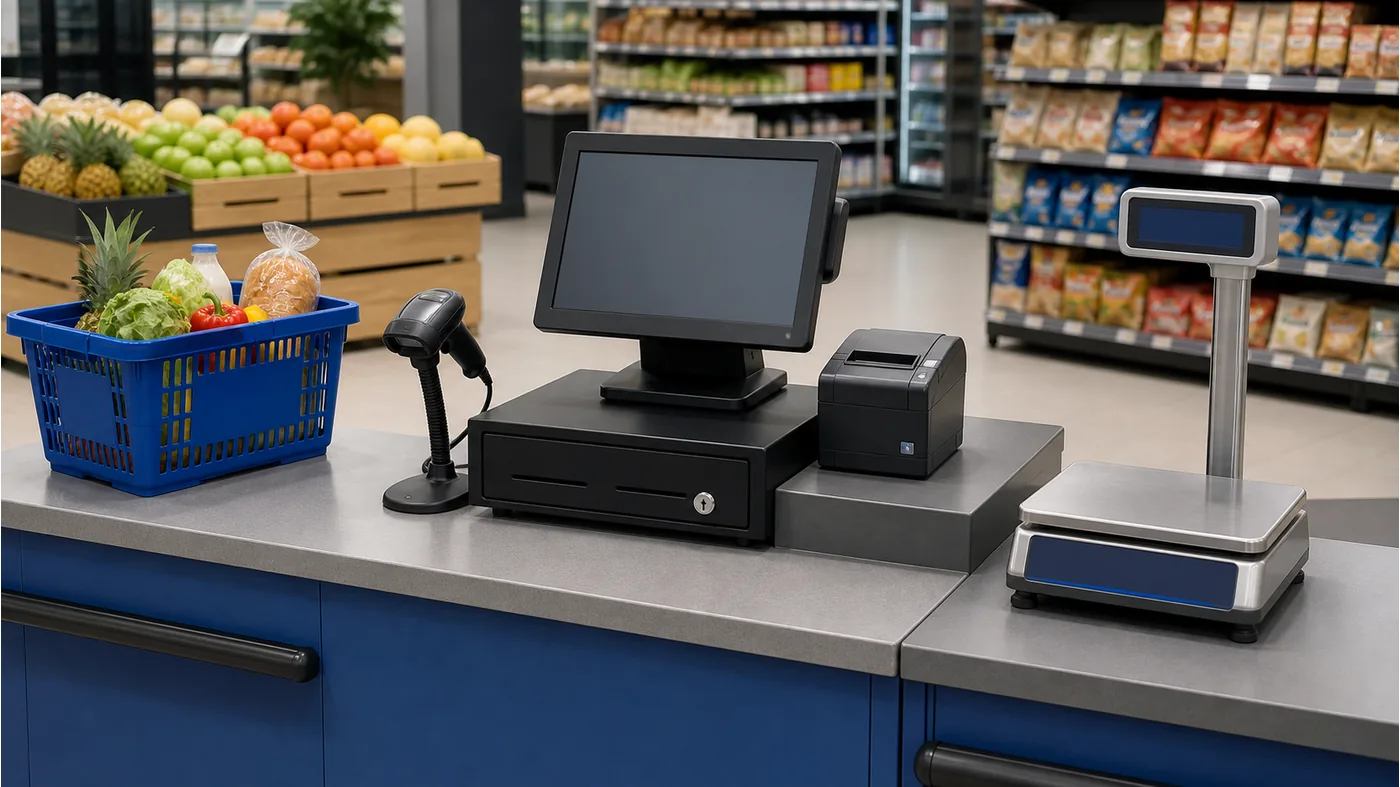
3. Confirm the POS printer and cash drawer arrangement
A POS printer cash drawer setup is more than placing two devices beside the screen. Confirm whether the printer is built in or separate, how paper is replaced, how the drawer opens, and whether the payment device needs its own space.
- 58 mm printer requirement where applicable.
- Receipt direction and paper-roll access.
- Drawer trigger and cable route.
- Payment-terminal location.
- Staff and customer reach during payment.
4. Define weighing and label requirements
For fresh goods, the grocery retail weighing scale becomes part of the product-identification workflow. H193A and H193W list 15 kg capacity and 5 g graduation as standard specifications, while 6 kg, 30 kg or 60 kg configurations, optional scanning windows and label printers are project choices. Confirm the required capacity and software flow rather than assuming the standard scale fits every product.
- Maximum capacity and graduation.
- Weighing module choice such as Dingjian OS3 or OS6.
- Receipt or label printer requirement.
- Scanning window and customer display option.
- Placement of the pan relative to the operator.
5. Test the complete checkout sequence
The final test should follow a real basket: scan an item, weigh when needed, confirm the price, take payment, print the receipt or label, open the drawer and recover from an error. This is where missing interfaces or poor counter placement becomes visible.
- Packaged item scan.
- Weighed item and label/receipt flow.
- Payment-device handoff.
- Printer and drawer response.
- Operator recovery and customer queue impact.
Use the POS configuration review path when the checkout sequence is not yet fixed.
Choose a scale-led or terminal-led format
If most transactions are packaged goods, a terminal-led arrangement such as F1 plus a scanner and printer may be the simpler comparison. If fresh goods are central, H193A or H193W may deserve priority because the weighing pan and weighing specification are part of the same checkout surface. Compare the relevant POS terminal options and POS weighing scale options by workflow, not by the number of devices listed.
Two practical grocery counter arrangements
A terminal-led arrangement is often easier for stores that mainly scan packaged goods. A practical terminal such as F1 includes a built-in barcode scanning platform and a 58 mm thermal receipt printer, so the buyer can focus on the counter footprint, drawer, payment device and application flow. A separate scale can be added only when the product mix requires weighing.
A scale-led arrangement is more suitable when fresh goods are central to the transaction. H193A and H193W combine a 15.6-inch touchscreen with a weighing pan, a 58 mm receipt printer and a 15 kg/5 g standard weighing specification. The manual lists optional scanning windows, label printers, LED numeric displays and other weighing capacities. Those options should be selected according to the product range and label workflow, not simply added because they are available.
- Choose terminal-led when scanning packaged goods is the main action.
- Choose scale-led when weighing and price calculation are central.
- Confirm whether the printer produces receipts, labels or both.
- Keep the payment device and drawer outside the weighing area.
- Test the full sequence with the actual counter dimensions.
This comparison gives the phrase grocery POS terminal and scanner a practical meaning: it describes a working checkout arrangement, not a generic bundle of devices.
Why this is a quotation and layout issue
A small store has fewer spare surfaces and less room to correct a poor layout after delivery. Tesp can help organize product options and configuration questions for a quotation, while the buyer’s software team confirms compatibility and the local team confirms site and compliance requirements.
The right grocery POS setup is the one that keeps the product, scan, weigh, pay and receipt steps moving through the same counter without hidden handoffs.
Check the counter with a real transaction sequence
Photos and dimension drawings are useful, but a grocery counter should also be reviewed through a real transaction sequence. Place a representative product where the operator will reach it, scan it, weigh it if required, take payment and print the receipt or label. Observe whether the next product can enter the queue without crossing the payment area.
This exercise often reveals a problem that a catalogue comparison misses: a printer roll cannot be replaced without moving the terminal, a drawer blocks the bagging area, or the scale pan is too close to the customer display. These are layout and workflow problems, not necessarily defects in the individual devices.
- Use representative packaged and weighed products.
- Check staff reach, customer reach and queue direction.
- Confirm paper, label and drawer access.
- Record which step the software team accepts.
- Update the quotation if the hardware basket changes.
A practical request format
Use this structure when asking for a small grocery POS quote:
Store type and counter dimensions:
Terminal model and operating system:
Scanner and barcode types:
Printer and cash drawer:
Weighing capacity and graduation:
Weighing module and label/receipt requirement:
Payment-device position:
Power and network notes:
Complete checkout test:
Quantity and optional configuration:
Compare the POS terminal options and POS weighing scale options, then use the Tesp contact page to share the confirmed product, configuration and quantity.
FAQ
What belongs in a small grocery POS system hardware plan?
Start with the counter and transaction flow, then define the terminal, scanner, printer, drawer, payment device and any weighing or label requirement. The plan should also identify power, network and service access.
Do grocery POS terminals need a weighing scale?
Not always. Packaged-goods stores may need only a terminal, scanner, printer and drawer, while fresh-goods workflows may need a scale-led configuration such as H193A or H193W.
What should I check in a POS printer cash drawer setup?
Confirm printer width, paper access, drawer swing, trigger cable, payment-device location and staff reach. Test the complete receipt and payment sequence rather than checking each device separately.
What is a grocery retail weighing scale configuration?
It combines a weighing specification with the terminal, scanning, printing and software flow. H193A/H193W list 15 kg capacity and 5 g graduation as standard, with other capacities and modules available as project options.