
Kiosk Barcode Scanner Integration: How to Confirm Glass, QR Codes, Mounting and POS Hardware Fit
A kiosk barcode scanner is not validated by the scanner module alone.
The window, glass, display height, lighting, software input and service access must work together before the kiosk configuration is approved.
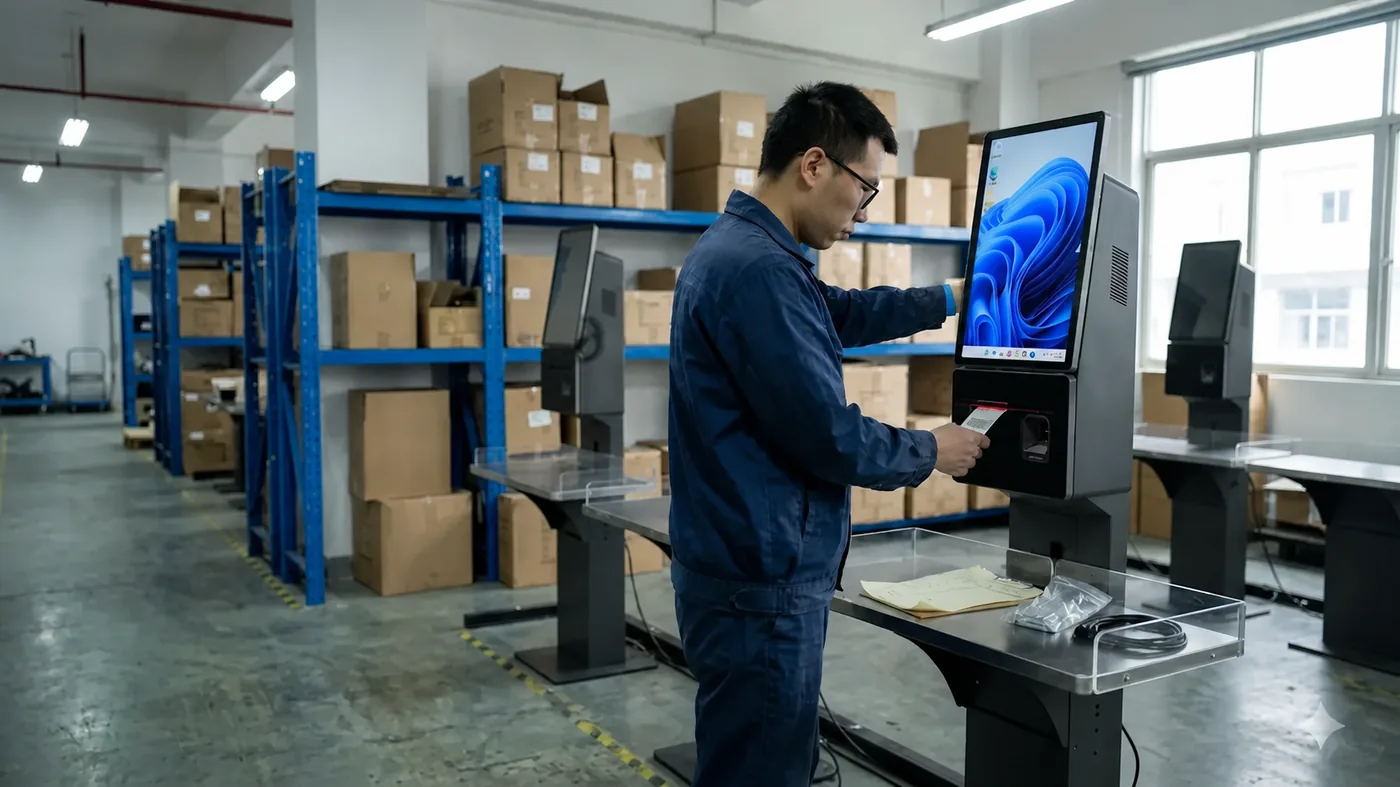
For a POS software company, self-checkout integrator or regional retail technology buyer, kiosk barcode scanner integration is a physical-fit and workflow question as much as it is a scanning question. A module may read a sample barcode on a desk, but the result can change after it is placed behind glass, surrounded by a bezel, installed below a display, or exposed to reflections from overhead lighting.
Before narrowing the scanner requirement, compare the self-checkout kiosk hardware for retail and restaurant workflows.
The safest approach is to define the complete kiosk assembly before asking for a quotation. Confirm which model is being considered, which scanner is included, how the window is formed, where the cables and payment hardware sit, and what the software team will test. This creates a useful record for comparing options instead of relying on a generic “2D scanner included” line.
Common configuration questions
- Will the kiosk read both printed barcodes and QR codes shown on a phone?
- Is the scanner window part of the enclosure, the glass panel or a separate bracket?
- Does the user approach the scanner from above, below or from the side?
- Where will the receipt printer, payment terminal and service access door sit?
- Which test results must be accepted before the quotation becomes an order?
Useful search phrases such as self-checkout kiosk scanner, barcode scanner behind glass, QR code scanner kiosk and self-checkout scanner mounting describe different parts of the same buying problem. They should appear in useful explanations, not as a detached keyword list.
Start with the kiosk model and the real hardware scope
Before discussing scanner performance, identify the terminal configuration. The product manual lists the Z3A and Z3W as self-service checkout and self-ordering terminals. Both standard configurations include a 21.5-inch 1920×1080 capacitive touchscreen, a floor stand with PE tray, a built-in 58 mm thermal receipt printer and a built-in 2D barcode scanner. That gives the buyer a concrete starting point, but it does not remove the need to confirm the final enclosure, scanner window and software requirements.
Android option
Z3A
Android 11 with RK3399, 4GB memory and 32GB eMMC as the standard configuration. RK3576, 8GB/16GB memory and larger storage are optional project choices.
Windows option
Z3W
Windows 11 with Core i3-1215U, 8GB memory and 128GB M.2 SSD as the standard configuration. Core i5, more memory and larger storage are optional choices.
This distinction matters because the scanner is only one part of the deployment. The software team still needs to confirm the operating system, scanner data path, receipt workflow, payment-device placement and any application-level event handling. If a 27-inch display, wall mount, countertop version, status indicator or payment-terminal bracket is required, list it as an option rather than assuming it is included in the standard Z3A or Z3W configuration.
The scanner should be specified together with the kiosk enclosure and the checkout workflow. A scanner that reads a test code in an open-air demonstration may still require a different window position, mounting angle or cable route when it is installed inside a self-checkout cabinet. Record the physical opening, test materials, payment position and POS handoff before comparing hardware options.
Five checks before approving a kiosk barcode scanner integration
1. Define the barcode and QR-code test set
“2D barcode scanner” is a hardware description, not an acceptance test. Prepare the actual codes that the kiosk will encounter and separate them by use case. A printed retail barcode, a small QR code on a bright phone screen and a low-contrast label may require different positioning and lighting.
- Printed 1D codes used in the target retail workflow.
- Printed QR codes at the smallest expected size.
- Phone-screen QR codes at different brightness levels.
- Glossy packaging, curved labels and partially reflective surfaces.
- Success, retry and failure behavior expected by the POS application.
Record the test result as part of the quotation or sample review. Do not write “supports all barcodes” unless the specific test scope has been agreed.
2. Confirm glass, bezel and scanner-window geometry
For a barcode scanner behind glass, the optical path is affected by more than the scanner itself. The thickness and coating of the glass, the size of the opening, the distance between the scanner and the outer surface, and the surrounding bezel can change the usable field of view.
- Glass thickness, tint, coating and protective film.
- Scanner-window dimensions and its position relative to the bezel.
- Clearance between the scanner face and the inner surface.
- Whether the window can be cleaned without opening the kiosk.
- Whether the final enclosure drawing matches the quoted assembly.
Ask for a drawing or marked-up photo when the scanner is integrated into a custom enclosure. A product catalogue picture cannot confirm the final optical geometry.
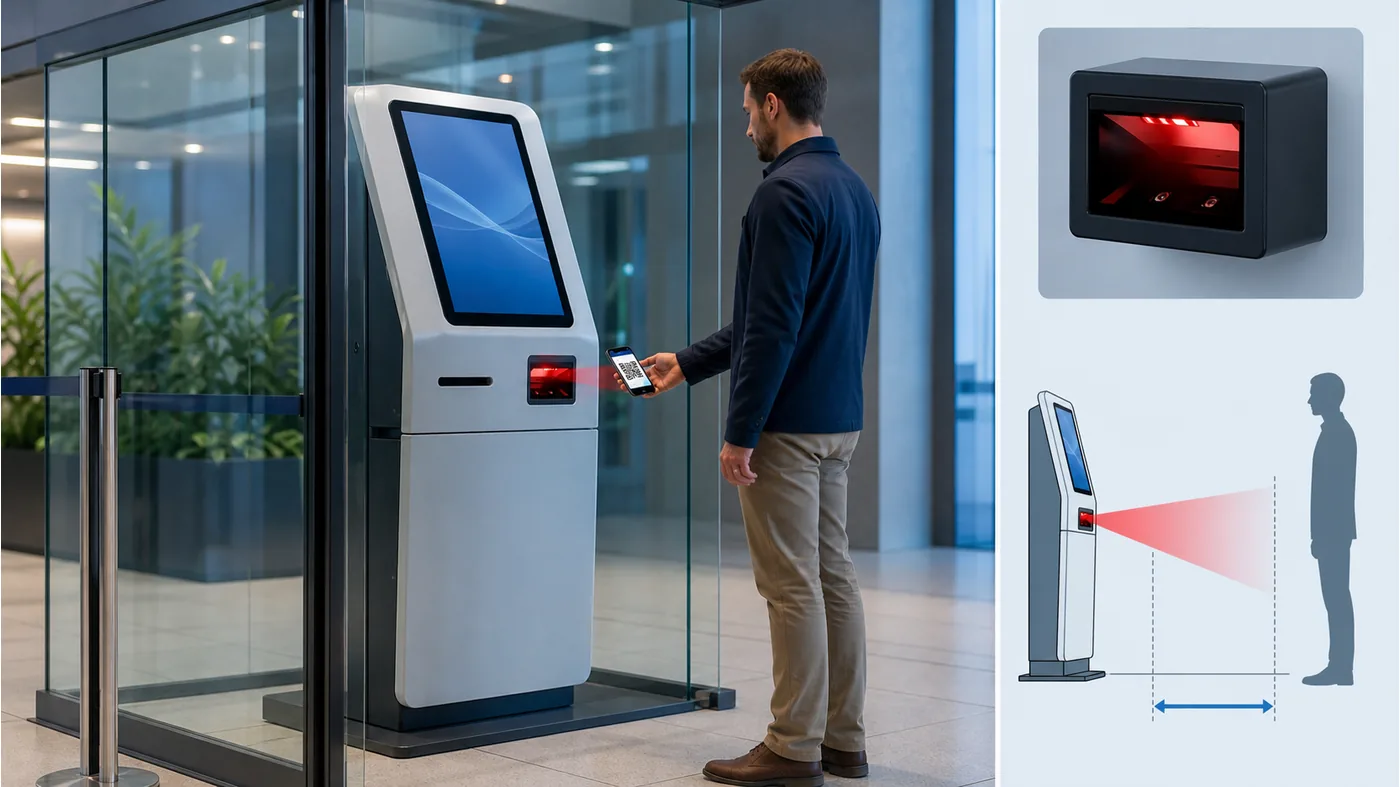
3. Check mounting angle, user reach and cable access
Self-checkout scanner mounting should be designed around the way a shopper presents a product. A scanner placed too high, too low or too far inside the kiosk can create awkward movements even when the module itself is functional.
- User approach from the front and the expected product presentation angle.
- Scanner height relative to the 21.5-inch display and PE tray.
- Clearance for bulky packaging, baskets or bags.
- Mounting bracket rigidity and protection from accidental impact.
- Cable routing, strain relief and access for replacement.
The final request should identify whether the Z3A/Z3W floor-stand configuration is sufficient or whether a wall-mounted, countertop or custom enclosure arrangement is required.
4. Test lighting, reflections and difficult surfaces
QR code scanner kiosk testing should include the lighting conditions of the intended site. Bright windows, overhead LED strips, polished counters and glossy phone screens can create reflections that are not visible in a neutral desk test.
- Direct light, side light and lower-light conditions.
- Glossy labels, laminated cards and curved packaging.
- Phone screens with low brightness and high brightness.
- Different scan distances within the usable window.
- Recovery time after a failed or incomplete scan.
These tests do not establish a universal performance guarantee. They help the buyer and software team decide whether the proposed configuration should move to a sample or quotation revision.
5. Connect the scanner result to the POS workflow
Integration is complete only when the scan event reaches the intended application and the user receives a clear response. Confirm the actual interface and event behavior for the selected assembly in the final quotation; the product manual identifies the built-in scanner but does not define a universal software protocol for every deployment.
- What event or data output does the POS application receive?
- How is a successful scan shown on the display?
- What happens when the same code is scanned twice?
- Can the operator or service technician disable the scanner during maintenance?
- How are scanner, printer, payment and application faults logged?
For the built-in 58 mm printer, also confirm whether the receipt is printed after payment, after item confirmation or through a separate application step. This is why scanner selection and receipt workflow should be reviewed together.
Choose the terminal format before specifying the scanner
The scanner decision should follow the checkout format, not the other way around. Z3A and Z3W are floor-standing self-service terminals, but a staffed counter or compact self-service station may need a smaller desktop arrangement.
For that type of workflow, the F1 practical POS terminal is a useful comparison point because its listed configuration includes a built-in barcode scanning platform and a built-in 58 mm thermal receipt printer. Comparing F1 with the Z3 options helps the buyer decide whether the project needs a floor stand, a counter footprint or a different user approach before the scanner details are finalized.
For weighing-led grocery workflows, H193A and H193W retail checkout scales can be configured with an optional built-in scanning window. That is a different integration problem: the scanner must coexist with the weighing pan, label or receipt printer and the operator’s hand position. The right comparison is therefore based on workflow and enclosure, not simply on the word “scanner.” You can compare the broader self-checkout kiosk hardware and POS weighing scale options before finalizing the request.
This is a quotation and deployment-readiness issue
A scanner question becomes a quotation issue when the scanner window, glass, mounting, payment device and software workflow are not specified together. After confirming the kiosk format, share the barcode/QR test set, enclosure drawing or marked-up photo, operating system, scanner interface, required quantity and destination with the supplier. This gives the software team and hardware supplier the same acceptance record.
The best scanner specification is not the longest catalogue description. It is the shortest record that makes the physical fit, test set and acceptance owner unambiguous.
Tesp can help organize the product options and configuration questions for a quotation. Final software compatibility, local compliance and site-specific installation decisions should be confirmed by the buyer’s technical team and relevant local specialists. For the next step, review the POS configuration review path and share the product, configuration and quantity through the Tesp contact page.
After the test set and mounting conditions are clear, the next step is to compare suitable self-checkout kiosk hardware options. Include the scanner type, glass or window condition, QR-code requirement, mounting position, cable route, operating system, required peripherals and quantity in the request. Tesp can help organize these hardware questions for an initial configuration review; the buyer’s software team should confirm the final application handoff.
A practical request format for the supplier
Use this structure when asking for a kiosk barcode scanner integration quotation or sample:
Preferred terminal model: Z3A / Z3W / other
Operating system and standard configuration:
Main display size:
Scanner module and included scope:
Barcode and QR-code test set:
Glass, coating and scanner-window details:
Mounting method and user approach:
Receipt printer requirement:
Payment-terminal position:
Required application event or data output:
Lighting and site conditions:
Sample acceptance owner:
Required quotation changes or optional items:
When the product direction is not yet fixed, start with the POS terminal options and compare the enclosure, operating system and peripheral requirements before requesting a final price.
FAQ
What is the main risk in kiosk barcode scanner integration?
The main risk is treating a scanner module as an isolated product. Glass, bezel geometry, user approach, lighting, cable access and software event handling can all affect the final result, so they should be included in the configuration record.
Do Z3A and Z3W include a barcode scanner?
The standard configurations listed in the product manual include a built-in 2D barcode scanner, a 21.5-inch 1920×1080 touchscreen and a 58 mm thermal receipt printer. Z3A uses an Android 11/RK3399 standard platform, while Z3W uses Windows 11/Core i3-1215U; optional memory, storage and enclosure choices still need to be confirmed in the quotation.
How should a buyer test a barcode scanner behind glass?
Test the actual printed and phone-screen codes through the final glass, coating and scanner window. Include different lighting, scan positions and difficult labels, then record the acceptance result and the person responsible for the software-side test.
Can a countertop POS use the same scanner integration approach?
The decision logic is similar, but the physical constraints are different. A countertop terminal such as F1 or a retail checkout scale such as H193A/H193W may use a built-in or optional scanning platform, so the buyer should confirm the work surface, hand position, printer and weighing workflow separately.