
USB, Ethernet or Bluetooth for POS Hardware: How to Choose by Workflow
A POS peripheral can have the right connector and still be wrong for the workflow.
Distance, power, mobility, network ownership and recovery behavior should be decided before the interface is selected.
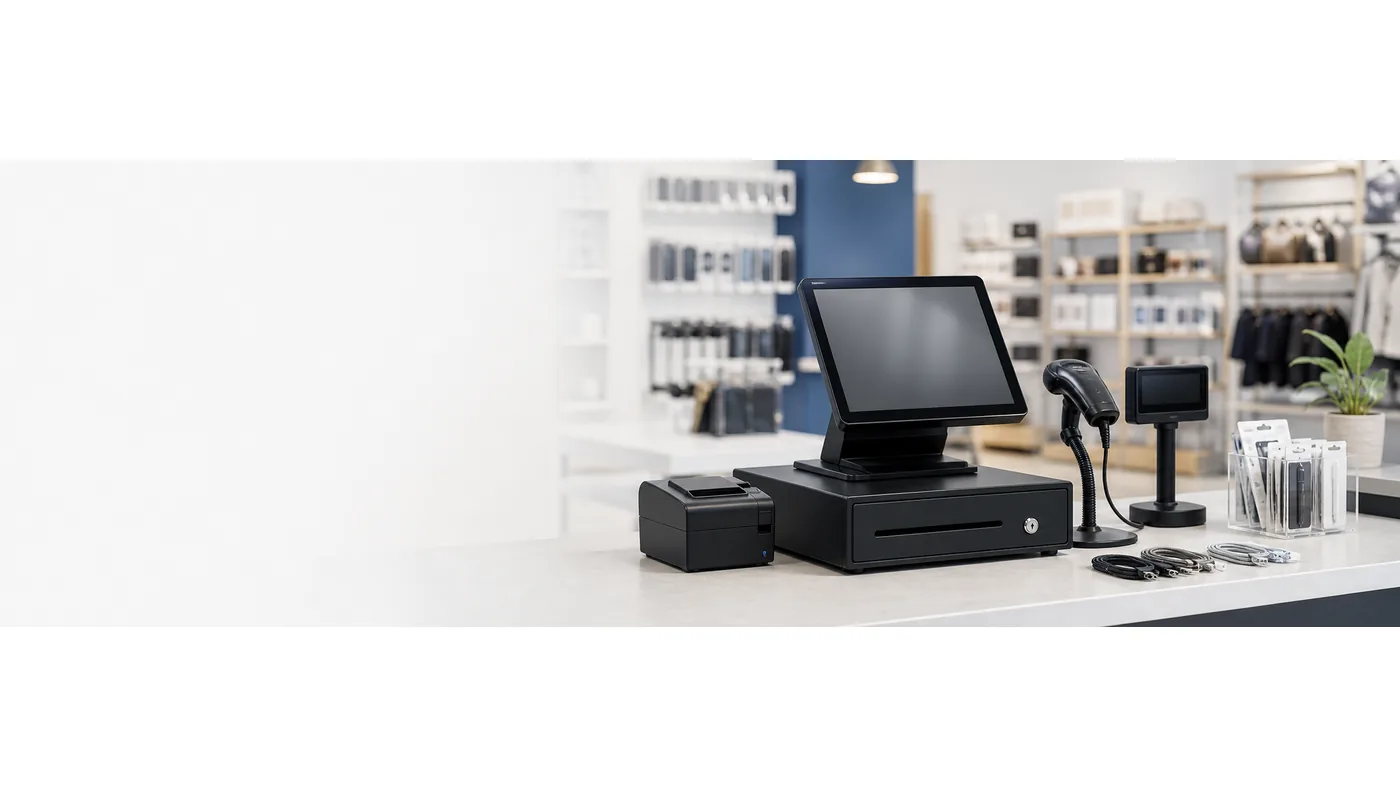
For POS software teams and hardware integrators, USB vs Ethernet POS hardware is not a universal winner question. A receipt printer near the terminal, a scanner at a self-checkout window and a networked device across a counter may need different connection choices.
The right comparison begins with the workflow: what is connected, how far away it is, who owns the network, how the device is powered, and what should happen after a cable is unplugged or a wireless link drops. This is why a POS hardware connectivity guide should be written around the station, not only around ports.
Common connectivity questions
- Is the peripheral beside the terminal or across a network?
- Does it need power from the terminal or its own adapter?
- Who controls pairing, IP addressing and driver installation?
- What is the recovery behavior after a cable or link failure?
- Which cables, hubs and spare accessories are included?
Long-tail phrases such as Bluetooth barcode scanner for POS, Ethernet POS terminal setup, USB POS printer connection and wireless POS peripherals should be used when explaining a concrete selection decision.
Use the terminal’s known connectivity baseline
The product manual gives useful reference points. S3A and S3W list Gigabit Ethernet, dual-band Wi-Fi, Bluetooth 4.2 and standard POS interfaces. A2, N1, N2 and A9 list practical wired interfaces including USB×6, RJ45, and on some models VGA, COM, HDMI or DC; the exact model and final configuration still need to be confirmed in the quotation.
Near the terminal
USB
Across the site
Ethernet
Bluetooth is useful when a device needs mobility or a cleaner counter, but it adds pairing and charging decisions. Ethernet is useful when distance, shared network access or fixed routing matters, but it adds switch, IP and network-owner assumptions. USB is often simplest for a nearby peripheral, but cable length, hub power and service access still need to be checked.
Five checks before choosing USB, Ethernet or Bluetooth
1. Map the workflow and device distance
Start with the user action, not the connector. A scanner mounted inside a kiosk, a printer under a counter and a handheld scanner used around a store do not share the same physical requirement.
- Device position relative to the terminal.
- Required cable route and service loop.
- Whether the device moves during the transaction.
- Whether the user can access the connector.
- Whether the device is shared by more than one station.
This step determines whether a USB POS printer connection is practical or whether a networked device is more appropriate.
2. Confirm power and accessory scope
USB, Ethernet and Bluetooth describe data paths, not the whole power plan. Record whether the terminal, a hub, the peripheral or a separate adapter supplies power, and include the required cable, charger or network accessory in the quotation.
- Power source and adapter rating to be confirmed.
- Hub or switch requirement.
- Charging dock or spare battery for mobile devices.
- Cable length and strain relief.
- Included and excluded accessories.
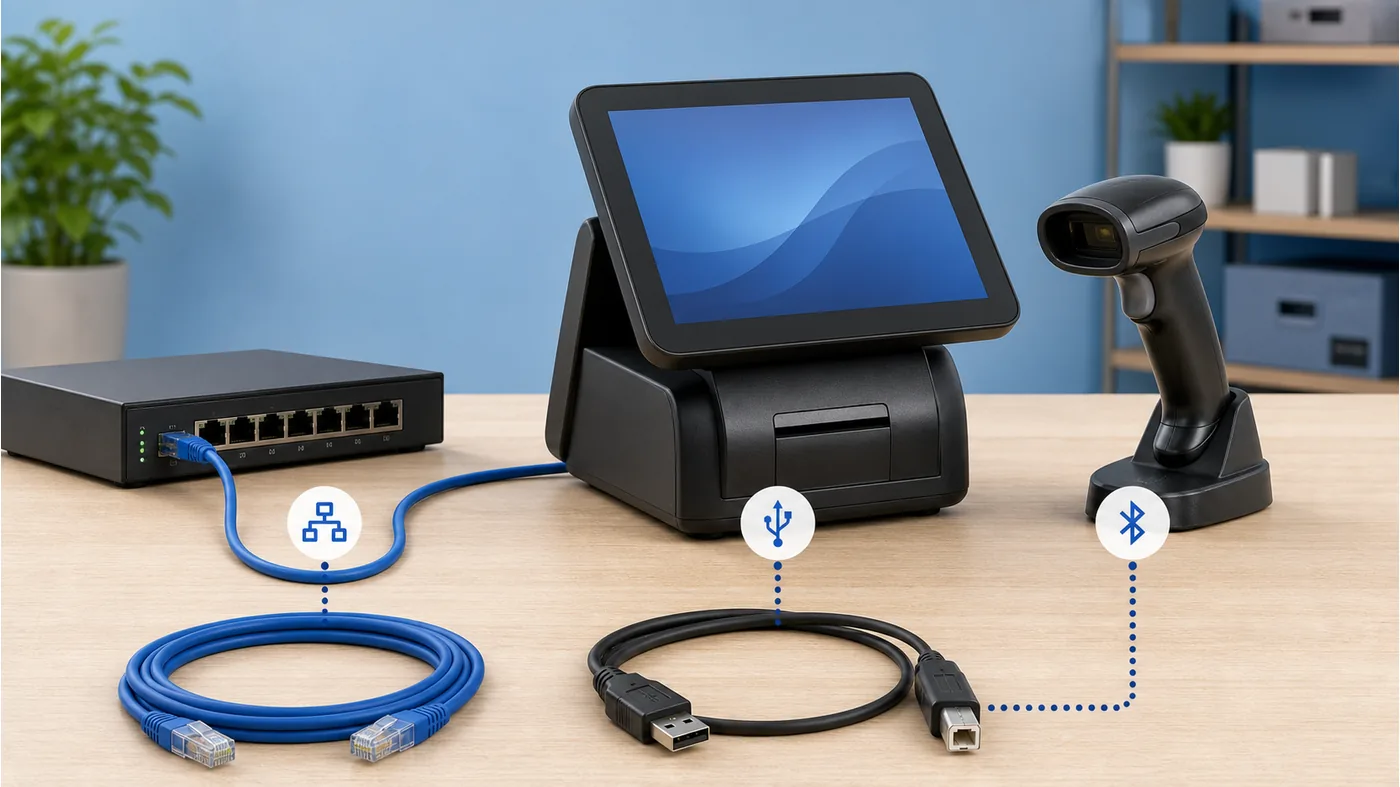
3. Define network and pairing ownership
An Ethernet POS terminal setup should name the network assumptions before deployment. A Bluetooth barcode scanner for POS should name who pairs it, how it is reconnected and how the software team knows which device is active.
- Network switch, IP or DHCP assumptions.
- Wi-Fi or Bluetooth ownership and access limits.
- Pairing process and device naming.
- Driver or application configuration owner.
- Security and local IT review where required.
4. Test failure and recovery behavior
A connection is not ready because it works once. Test a cable removal, a temporary network interruption, a Bluetooth reconnect and a device restart. The buyer needs to know whether the application retries, shows an error or requires an operator action.
- Disconnect and reconnect test.
- Power-cycle and application restart.
- Duplicate or delayed input behavior.
- Printer queue and scanner retry behavior.
- Recovery instructions for store staff.
5. Confirm ports, cables and spares in the quote
Use the selected terminal’s real port layout. S3A/S3W provide a broad baseline, while older practical models may have different USB, RJ45, COM, VGA, HDMI or DC arrangements. Do not assume that a connector shown on one model exists on another.
- Exact terminal model and port map.
- Peripheral connector and cable length.
- Hub, switch or adapter requirement.
- Spare cable, charger or scanner plan.
- Final interface and software test owner.
Use the POS configuration review path when the connectivity map is not yet stable.
Compare interfaces by the station they serve
USB is usually a sensible starting point for a nearby printer or scanner when cable access and power are clear. Ethernet becomes more attractive when the device is separated from the terminal or must be managed over a fixed network. Bluetooth is more suitable when mobility matters and the buyer can manage pairing, charging and recovery.
These are workflow tendencies, not universal compatibility promises. Compare them with the relevant POS terminal options and the wider POS hardware range before finalizing the device list.
When connection methods should not be mixed casually
A station can contain USB, Ethernet and Bluetooth at the same time, but each link should have a clear owner and recovery method. For example, a nearby receipt printer may use USB while a fixed back-office device uses Ethernet and a handheld scanner uses Bluetooth. The risk appears when the application team assumes every device behaves like a keyboard or when the network team assumes every device has the same IP and driver requirements.
Use the terminal manual as a baseline, not as a promise that every peripheral is plug-and-play. S3A and S3W list Gigabit Ethernet, dual-band Wi-Fi, Bluetooth 4.2 and standard POS interfaces. Practical models such as A2, N1, N2 and A9 list different combinations of USB, RJ45, VGA, COM, HDMI and DC interfaces. Confirm the exact model port map, peripheral connector and final software path in the quotation.
- Write one connection line for each peripheral.
- Assign power, pairing, IP and driver ownership.
- Test disconnect, reconnect and restart behavior.
- Record cable, hub, switch, charger and spare requirements.
- Keep the interface decision separate from unsupported performance claims.
This approach makes the POS hardware connectivity guide useful during both quotation review and deployment preparation.
Why this is a deployment-readiness issue
Connectivity decisions affect software testing, counter layout, maintenance and quotation scope. Tesp can help organize the product options and configuration questions, while the buyer’s application and local IT teams confirm software and network requirements.
Choose the interface after the workflow is mapped; the connector should support the station rather than dictate it.
Document the connection decision for the next team
Connectivity notes should be understandable to three different people: the buyer comparing options, the software team testing input, and the person maintaining the checkout station. A note that says “Bluetooth scanner” is not enough if nobody records pairing ownership, charging, device naming or reconnect behavior.
Likewise, “Ethernet ready” should identify whether the device uses the store network, a local switch or a direct terminal connection. USB notes should include the port, hub and cable assumptions. This simple documentation prevents a connection choice from becoming a hidden deployment task.
- Use one line per peripheral and one owner per test.
- Record the actual model port layout.
- Keep power and data requirements together.
- Include recovery steps for store staff.
- Repeat the test when the terminal model changes.
A practical request format
Use this structure when requesting a connectivity recommendation:
Terminal model and operating system:
Peripheral:
Workflow position and distance:
USB / Ethernet / Bluetooth choice:
Power source:
Cable, hub, switch or charger:
Pairing or IP owner:
Failure and recovery test:
Spare accessories:
Quantity and final configuration:
Review the POS terminal options, use the configuration review path, and send the final product, interface and quantity through the Tesp contact page.
FAQ
When should a POS peripheral use USB?
USB is often practical when the device is close to the terminal and the cable, hub power and service access are clear. Confirm the exact model port map rather than assuming every POS terminal has the same layout.
When is an Ethernet POS terminal setup more suitable?
Ethernet can suit a fixed device separated from the terminal or a station managed through a local network. Confirm switch, IP, network ownership and recovery assumptions before quoting it.
What should I check for a Bluetooth barcode scanner for POS?
Check pairing ownership, charging, device identification, range in the actual space and reconnect behavior. The application team should test duplicate, delayed and lost input.
Is Bluetooth always better for a clean counter?
No. It may reduce cable clutter, but it introduces charging and pairing work. The best choice depends on the station’s mobility and who will maintain the connection.