
POS Cash Drawer Cable Compatibility: RJ12 Kick-Out and Printer-Driven Checkout Checklist
A cash drawer can fit the counter and still fail because the trigger path was never confirmed.
Use this POS cash drawer cable compatibility checklist to separate the connector shape, wiring, printer interface and software command before ordering a sample.
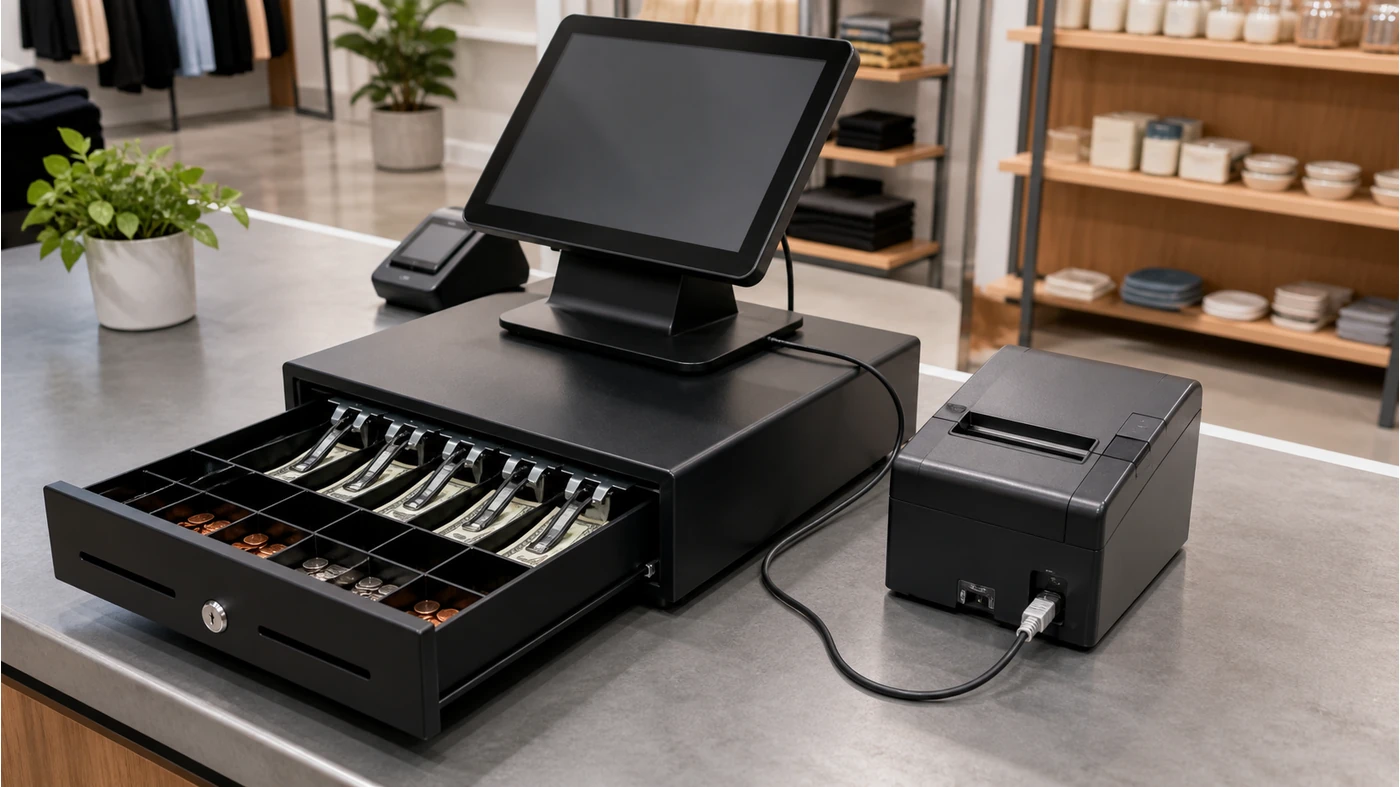
Cash drawer problems are often described as “the RJ12 cable does not work.” That description is too broad. The drawer may be printer-driven, connected through a dedicated USB trigger, or controlled by a terminal interface. Even when two plugs look similar, the cable wiring, trigger circuit and expected software command may differ.
For a POS dealer or software integrator, the correct goal is not to collect a cable that physically reaches the drawer. The goal is to document the entire path from POS application to printer or trigger module to drawer solenoid, then test it with the exact terminal configuration.
What the Tesp manual confirms
N2 and A9 list RJ45×1, USB×6, RJ11×1 and DC interfaces. That gives a useful starting point for a cash-drawer conversation, but it does not confirm a particular drawer pinout, trigger voltage or supported printer profile.
What the cable guide warns about
WenShin’s guide separates RJ11/RJ12 appearance from actual drawer-kick wiring and explains why printer-driven and USB-triggered drawers should not be assumed interchangeable.
Why RJ11 or RJ12 appearance is not enough
The connector family is only one part of POS cash drawer cable compatibility. The buyer also needs to know which device supplies the kick pulse, which pins carry the trigger, whether the drawer reports open/closed status, and what the printer or POS software expects. A telephone-style cable may fit the socket and still be wired incorrectly for the drawer interface.
That is why a good RJ12 cash drawer kick-out cable request names both ends of the cable and the equipment they connect. It should not say only “RJ12 cable” or “cash drawer cable included.”
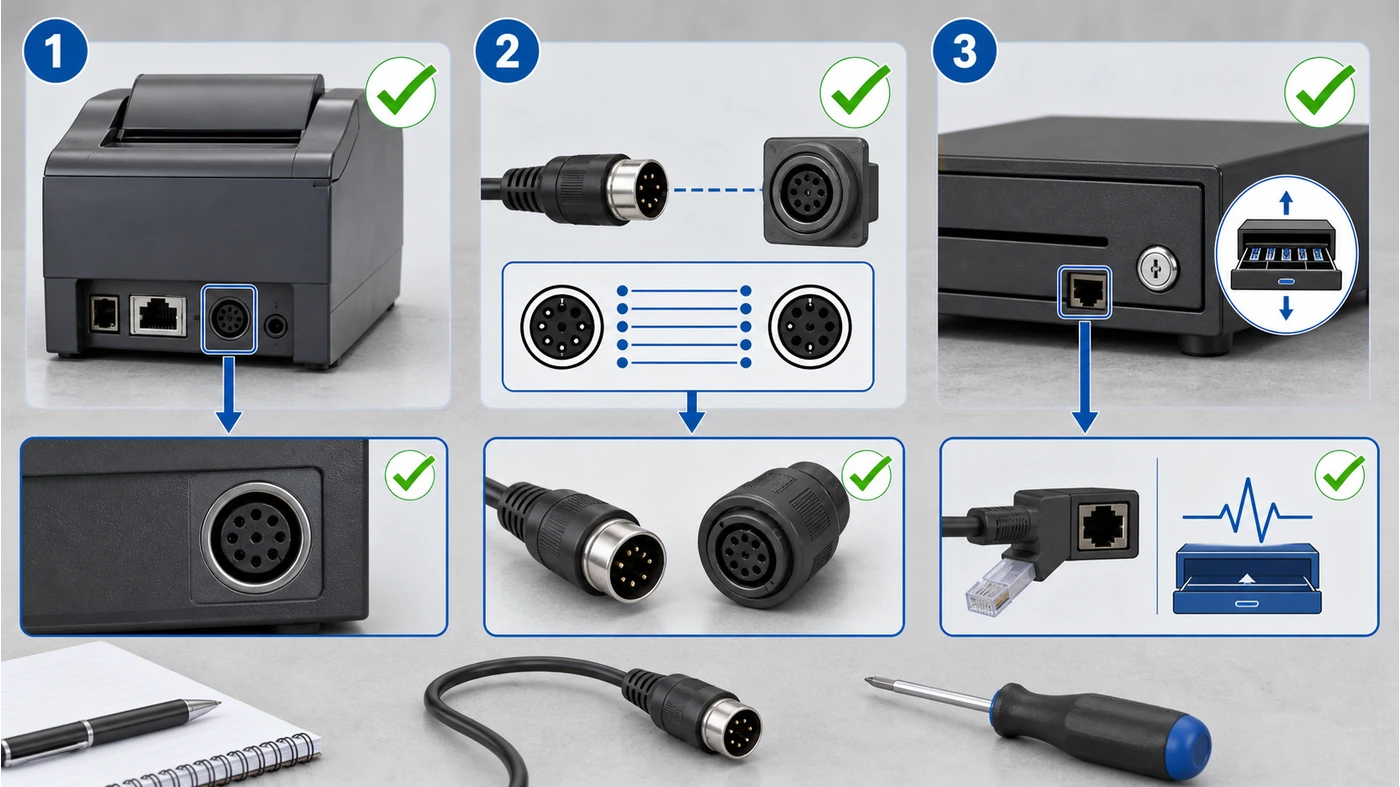
Five checks before ordering a cash drawer and cable
1Identify the trigger architecture
First decide whether the drawer is printer-driven or uses a separate trigger device. In a printer-driven setup, the POS application sends a print or drawer-open command to the printer, which then activates its drawer-kick port. A USB trigger may use a different driver and power path.
- Record the POS terminal, printer and cash drawer models.
- State whether the drawer should open on payment, receipt print or a separate command.
- Ask the supplier to draw the complete connection path.
Acceptance impact: the sample must open the drawer from the actual POS workflow, not from a supplier’s manual test switch.
2Confirm both connector ends and the wiring
Write the connector at the printer or trigger end and the connector at the drawer end as separate fields. If a conversion cable is needed, list it as a component rather than hiding it inside “accessories.”
- Request a cable photo showing both ends and the cable length.
- Ask whether the pinout is standard for the selected printer or proprietary to the device.
- Do not substitute a telephone cable because the plug shape looks similar.
Acceptance impact: include the exact cable in the sample package and label it for the station it belongs to.
3Check trigger and status requirements
Some projects need only an open command. Others need the software to know whether the drawer is open or closed. A connector that can trigger a drawer does not automatically provide the status feedback your POS application expects.
- State whether open/closed sensing is required.
- Ask which device reads the sensor and how the software receives the state.
- Confirm the expected trigger behavior after a cancelled or failed transaction.
Acceptance impact: test open, close, retry and recovery states, not only one successful opening.
4Match the drawer with the terminal family
N2 and A9 are practical Windows POS references with the listed RJ11×1 interface. They should not be assumed to have the same drawer behavior as F1, S3 or a separate receipt printer. The terminal, printer and drawer must be quoted as one tested bundle.
- Record the operating system and POS software used in the pilot.
- Confirm whether the drawer connects to N2/A9 directly or through a printer.
- List any external adapter, power supply or driver that the station needs.
Acceptance impact: avoid approving a cable on N2/A9 and then moving it to an all-in-one F1 without repeating the integration test.
5Run a transaction-level acceptance test
The final test should look like a real sale. Scan or select an item, take payment, print or skip the receipt according to the workflow, open the drawer, close it and start the next transaction. Include a failed payment and a cancelled sale if the software has different commands for those states.
- Test cold boot and application restart.
- Test drawer open from the normal payment flow.
- Record missed kicks, double kicks, delayed openings and sensor errors.
Acceptance impact: keep the test record with the cable, printer and drawer part references so replacement purchasing does not break the known-good path.
When a direct terminal port should not replace a printer-driven path
A direct terminal port may look simpler, but the software integration and power behavior can be different. A printer-driven drawer may be preferable when the receipt printer already controls the transaction station; a separate USB trigger may be useful when the printer is not part of the workflow. The correct choice depends on the POS software and the exact hardware bundle.
For a broader port and peripheral review, start with the POS configuration review service. If the buyer is selecting a new terminal, compare the POS terminal range before locking the cash drawer interface. For a sample or small pilot, use the small-order execution support to keep cable and accessory confirmations attached to the order.
Field note: “RJ11 included” is an accessory statement, not a compatibility result. The useful evidence is a tested printer/trigger/drawer path using the buyer’s software command.
A practical cash drawer cable request format
Project: [retail / grocery / restaurant]
POS terminal: [N2 / A9 / F1 / S3 / other]
Operating system and POS software: [version]
Receipt printer: [built-in / external / model]
Cash drawer: [model / compartments / sensor requirement]
Trigger architecture: [printer-driven / USB trigger / terminal port]
Printer-side connector: [type / port name]
Drawer-side connector: [type / port name]
Cable: [length / pinout confirmation / adapter]
Acceptance test: [open / close / retry / cancel / reboot / sensor]
Open items: [supplier and software-team confirmations]
When the hardware path is clear, you can share your product and configuration requirements with Tesp. Tesp can help collect the supplier’s cable and accessory answers; the POS software team should approve the final trigger behavior.
FAQ
Is an RJ11 cash drawer port the same as an RJ12 port?
The plugs can look similar, but the number of contacts, wiring and device pinout may differ. Do not infer compatibility from the connector shape; confirm the printer or trigger port and the cable wiring for the exact equipment.
Does a cash drawer normally connect directly to the POS terminal?
It may connect through a receipt printer, a dedicated trigger device or a terminal port, depending on the system. The POS application and hardware supplier should document the trigger architecture before the cable is ordered.
What should I test when the drawer opens manually but not from the POS?
Check the software command, printer or trigger driver, cable pinout and power path in that order. Then repeat the test with a real sale, including payment, receipt and cancellation states, instead of relying on a manual open button.