
Self-Checkout Barcode Scanner Comparison: Kiosk Scanner vs Handheld Scanner
The right self-checkout scanner is chosen by the customer workflow, not by the scanner name.
A fixed scanner behind glass, a presentation scanner and a handheld scanner each change mounting, reach, QR-code handling, service and software testing.
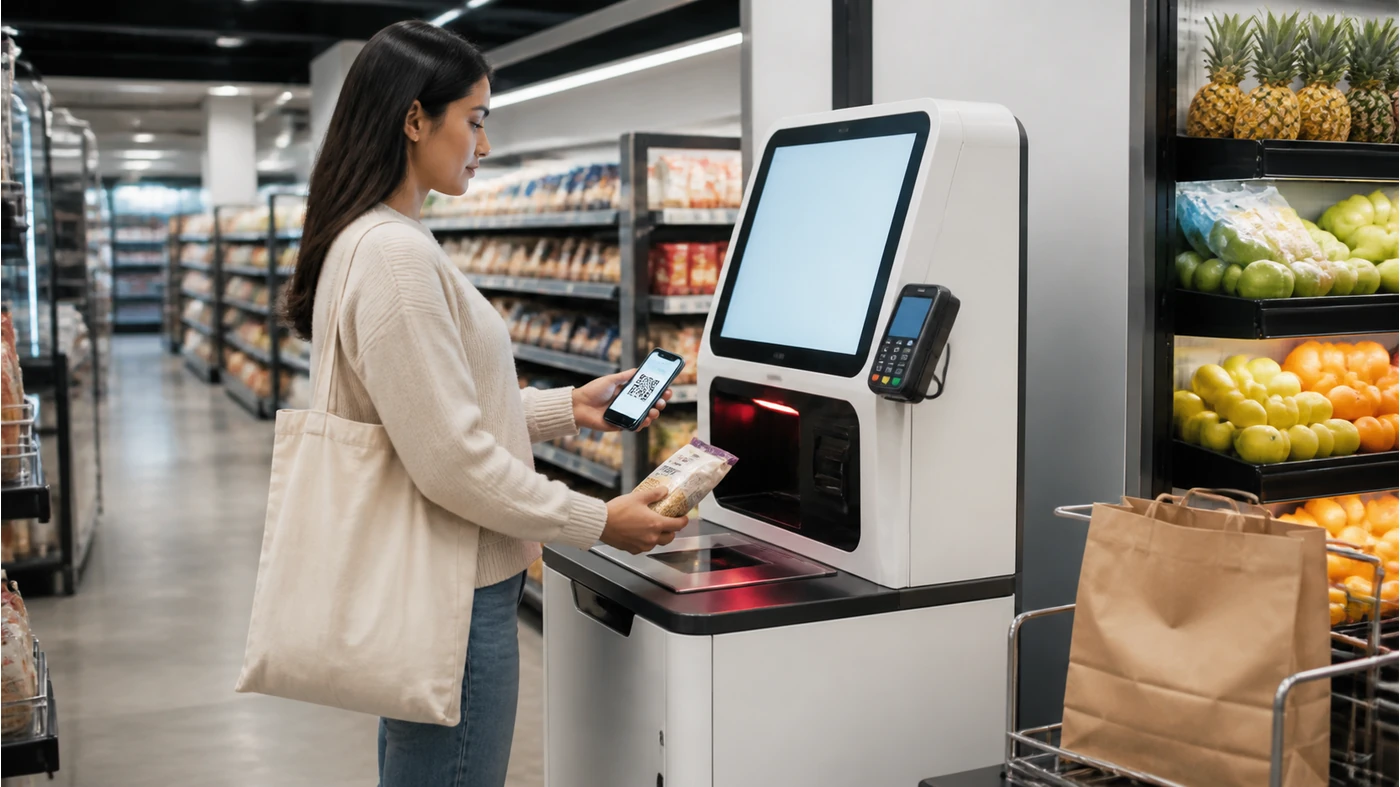
This self-checkout barcode scanner comparison is for retail technology buyers, self-checkout integrators and POS software teams comparing kiosk hardware. The first question is not “Which scanner is fastest?” It is “Where will the customer present the code, and what must the kiosk do when the first scan fails?”
A kiosk barcode scanner vs handheld scanner decision affects glass thickness, mounting angle, cable access, user reach, cleaning and the way the software receives input. A scanner can be technically capable and still be a poor fit for the enclosure.
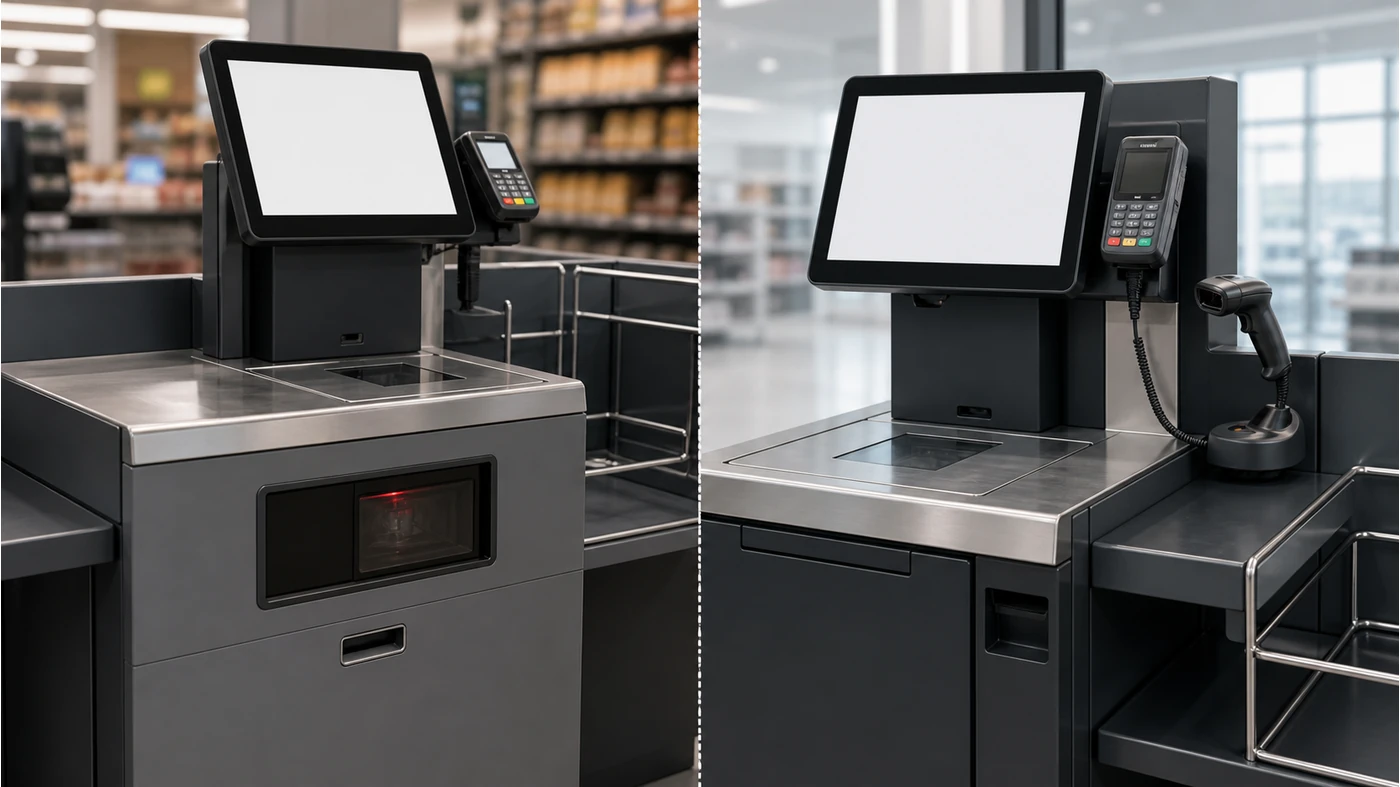
Fixed scanner window
Best when the workflow is controlled, the scan zone is defined and the enclosure can be engineered around the scanner.
Handheld scanner
Useful when shoppers need reach and flexibility, but it requires a safe cradle, cable management and clear user instructions.
What should a buyer compare?
Compare the complete self-service checkout hardware selection: code types, scan presentation, mounting, lighting, glass, service access, cable route and software input. A 2D QR scanner for a self-checkout kiosk may need a different window and lighting arrangement from a scanner used only for printed 1D product labels.
Five checks before choosing the scanner layout
1. Define the customer presentation zone
Decide whether the customer presents the item from below, in front of the screen or into a side window. The scanner placement should match the height and direction of normal use, including a bulky product or a phone screen.
- Scan zone height and angle
- Printed label and phone-screen use
- Large-item and small-item reach
- Left- and right-handed use
2. Confirm glass and enclosure constraints
A fixed scanner behind glass needs a confirmed window, thickness and mounting position. Do not assume that a scanner will read through any dark or reflective panel. Record the physical opening and the service method before approving the kiosk enclosure.
- Glass or acrylic type and thickness
- Window size and edge clearance
- Mounting bracket and adjustment range
- Cleaning and replacement access
3. Separate 1D, 2D and QR requirements
List the actual codes used by the retailer: product barcodes, loyalty codes, coupons, receipts or mobile QR codes. The software team should test representative codes rather than relying on a generic “supports QR” statement.
- Code families and print quality
- Phone brightness and screen angle
- Low-light or reflective-label conditions
- Failure message and retry behavior
4. Test the input and recovery path
Confirm whether the scanner behaves as keyboard input, serial data, USB device or another supported interface. Test a successful scan, a rejected code, a disconnected cable and a kiosk restart.
- Confirmed interface and driver assumption
- Scan-to-cart response time in the buyer’s software
- Retry, cancel and duplicate-scan behavior
- Recovery after power or network interruption
5. Review service and rollout practicality
A scanner hidden inside a kiosk may look clean but take longer to replace. A handheld scanner may be easier to service but require a cradle and stronger cable protection. Include the service path in the quote and pilot acceptance criteria.
- Replacement access and spare unit plan
- Cradle, cable and strain relief
- Cleaning instructions
- Operator guidance and rollout photos
Connect the scanner choice to the kiosk configuration
Use the self-checkout kiosk range as the enclosure starting point, then review the complete configuration against the scan workflow. If the project compares countertop and floor-standing units, keep the scanner decision tied to the retail POS hardware solution, not a standalone accessory list.
Tesp can organize suitable product options and quote inputs, while the buyer’s software team should confirm final code handling and acceptance tests. When the scanner requirements are written, send the kiosk requirements to Tesp.
Copy-ready scanner comparison brief
Kiosk type and counter/floor position:
Fixed window, presentation or handheld workflow:
Glass / window size and thickness:
1D, 2D, QR and phone-screen codes:
Mounting, cable and service access:
Software input interface:
Failure, retry and restart tests:
Sample quantity and rollout quantity:
FAQ
Is a handheld scanner better for self-checkout?
Not automatically. It may improve reach and flexibility, but it adds a cradle, cable and user-guidance requirement. A fixed scanner may be cleaner when the kiosk enclosure and scan window are designed around it.
Can a self-checkout scanner read QR codes from phones?
That depends on the confirmed scanner, lighting, window and software workflow. Test real phone screens and representative code sizes before approving the configuration.
What should be included in a scanner quotation?
Include the scanner, mounting or window requirements, cable and interface, spare or replacement assumptions, and the test cases. Quoting the scanner module alone leaves the enclosure and integration risk unresolved.