
A self-checkout kiosk can look complete in a catalogue and still be incomplete for the store workflow.
The useful configuration is the one that makes the scanner, receipt printer, payment-device position, service access and physical layout clear before a sample or quotation is compared.
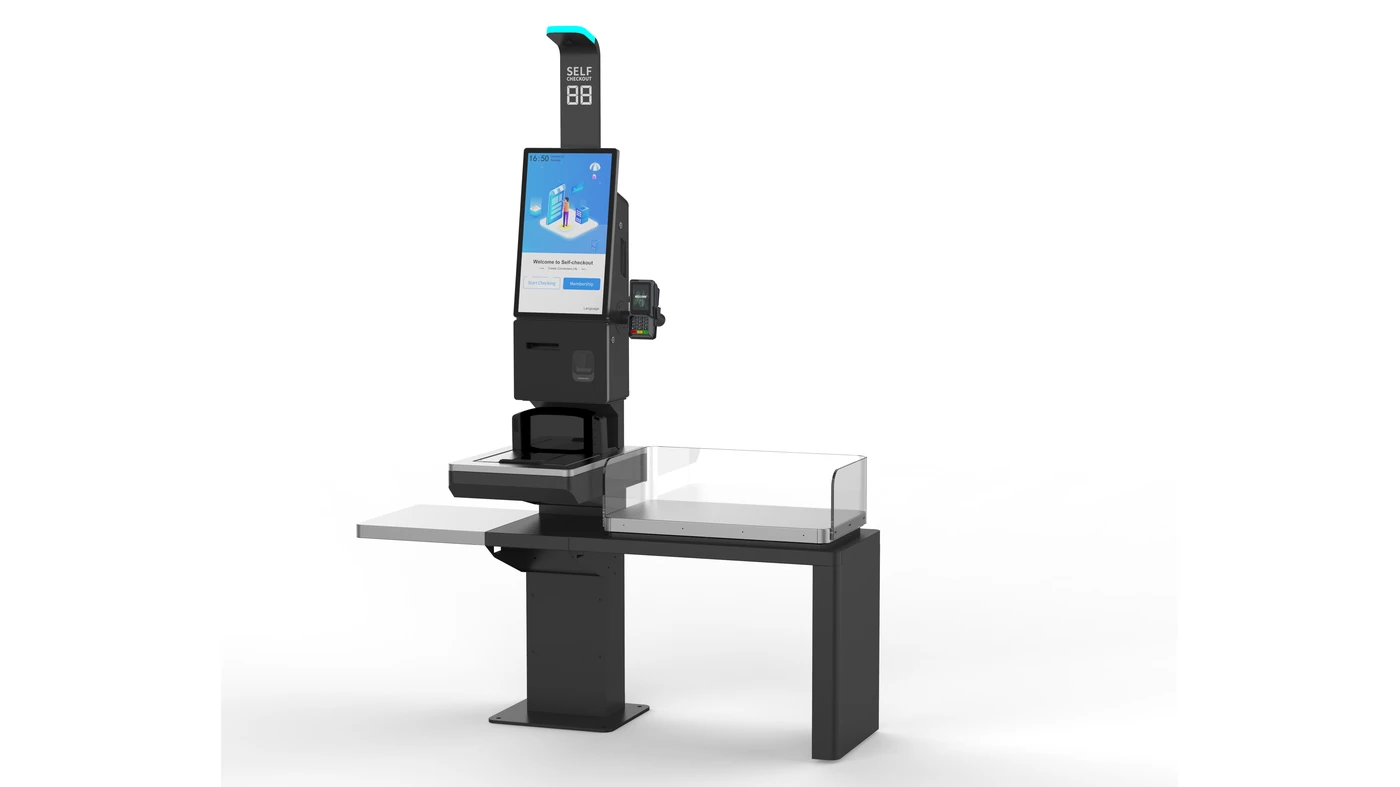
Buyers often begin with the screen size or the cabinet shape. Those are visible decisions, but they do not answer whether the customer can scan a product, pay, collect a receipt and ask for help without creating a new queue or blocking the service door. A self-checkout hardware configuration checklist turns those separate questions into one request that a POS integrator, buyer and hardware supplier can review together.
This is not a software selection guide. The software owner should still validate the application workflow, payment integration and local requirements. The hardware request should instead identify the physical modules, their placement, the operating-system direction and the acceptance points that need to be tested on a sample.
Common configuration questions
- Is the project a retail self-checkout workflow or a restaurant self-ordering workflow?
- Which scanner, receipt printer and payment-device mounting arrangement is actually required?
- Where will customers approach the kiosk, place baskets and collect receipts?
- Which modules are standard, optional or still subject to supplier and software-team review?
- What must be shown or tested before a sample becomes an approved configuration?
Terms such as self-checkout kiosk modules, self-checkout scanner and printer and self-checkout hardware quote point to different parts of the same buying task. The goal is not to add every module to the cabinet. It is to document the combination that suits the store workflow and makes the remaining decisions visible.
Why a module list is not enough
A list that says “scanner, printer and payment terminal included” can hide the details that decide whether the configuration works at the site. A scanner may need a defined window and customer reach. A receipt printer needs paper-loading and jam-clearing access. A payment device needs a mounting position, a cable route and a clear responsibility for its final software and acquiring setup.
Start with the workflow, then compare the self-checkout kiosk hardware options that can accommodate it. This keeps the product page responsible for the main hardware choice while this checklist handles the narrower configuration question.
Five checks before requesting a self-checkout hardware quotation
1. Define the customer workflow before the enclosure
Retail self-checkout and restaurant self-ordering may use a touchscreen cabinet, but they do not automatically need the same module arrangement. Retail checkout usually begins with an item scan and may need room for baskets, bags or a weighing-related step. A restaurant ordering kiosk begins with menu selection and may place more emphasis on the payment and ticket/receipt path.
- Write the normal customer sequence: scan or select, pay, print, collect and leave.
- Record the exceptions that require staff assistance, an override or a separate device.
- Identify whether the kiosk is countertop, wall-mounted or floor-standing before asking for a final drawing.
- Keep software handoff points on the buyer’s technical-team checklist rather than treating them as an automatic hardware feature.
2. Match scanner choice to the physical presentation of products
A barcode or QR scanner should be reviewed as part of the kiosk assembly. The scan window, bezel, glass, lighting and mounting angle can matter as much as the scanner category. A desk test with one code does not replace a configuration that reflects the final enclosure and customer approach.
- Prepare representative printed codes, phone-screen QR codes and difficult labels for the project team to test.
- Record scanner-window location, glass or protective cover details and cable access.
- Confirm the customer approach angle and clearance for baskets, bulky goods or bags.
- List who accepts the application-side scan result and what evidence will be kept.
For the detailed physical checks, use the kiosk barcode scanner integration checklist alongside the overall hardware request.
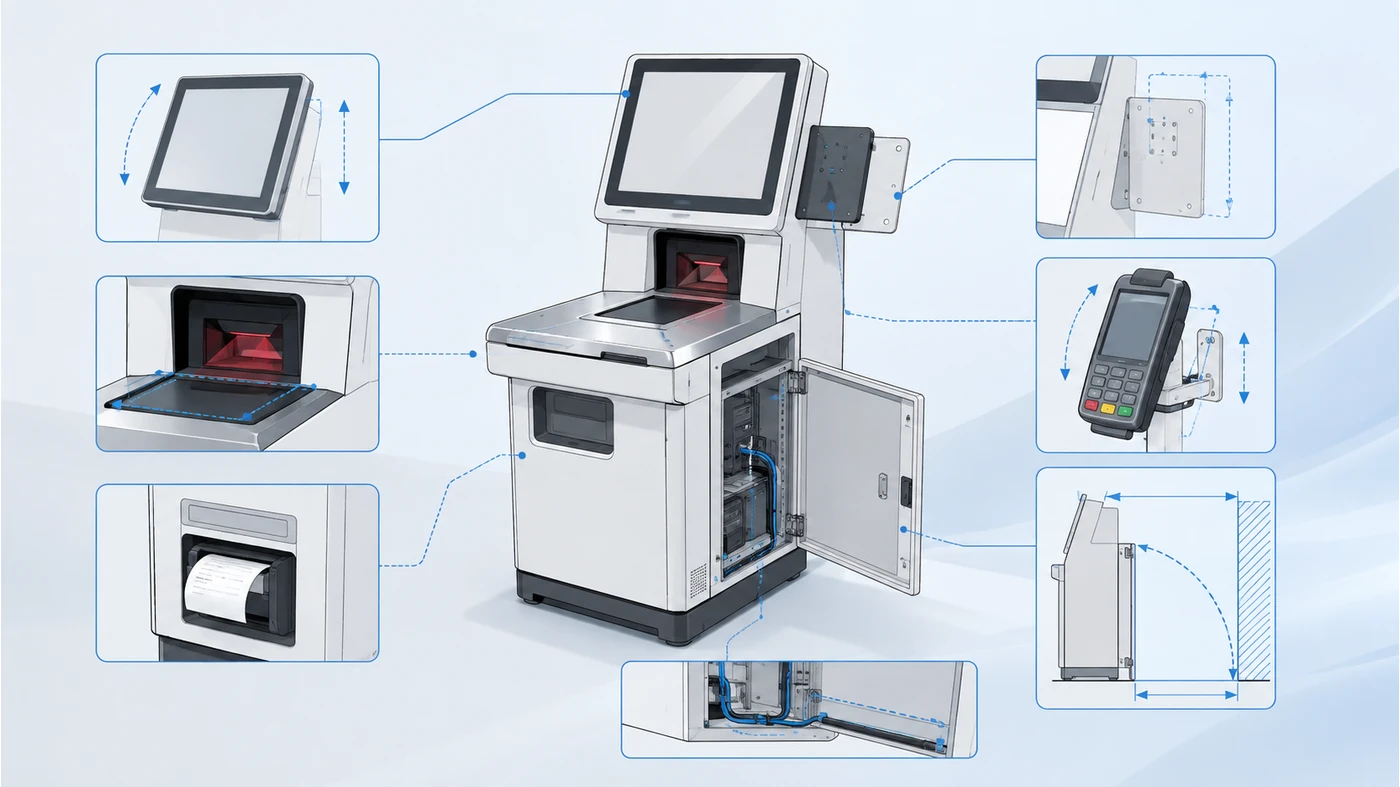
3. Specify printer access and the receipt path
A receipt printer should be described by its role in the workflow, not just by whether it is present. The buyer should state whether a receipt is required, when it is issued and how paper is replaced. The enclosure also needs practical service access so a routine paper change does not require dismantling the kiosk or blocking customers.
- State whether the receipt follows payment, a completed order or another application event.
- Confirm paper-loading direction, paper exit and service-door clearance.
- Separate the printer module from any software-side receipt logic.
- Request that included printer scope and optional changes are shown separately in the quotation.
4. Treat payment-device position as an interface and layout question
The kiosk hardware can reserve mounting space and route a cable, but the final payment device, payment application, acquiring relationship and local compliance process are not interchangeable hardware details. The project brief should make the mounting position and responsibility boundary visible from the first quotation.
- Mark the preferred payment-device height, side and customer reach on a drawing or photo.
- Confirm bracket, cable path and access for replacement or service.
- Identify whether the payment device is supplied by the buyer, a payment partner or another party.
- Keep payment certification, key handling and final integration validation with the responsible project parties.
5. Separate standard configuration, project options and open points
The most useful quotation does not make every item sound fixed. It identifies a standard hardware basis, optional modules and open questions. This gives the buyer a practical way to compare alternatives without treating a sample photo, software expectation or local requirement as a confirmed part of the order.
- Record operating-system direction, display format, network connection and included peripherals.
- List optional scanner, printer, customer display, scale, bagging-area or mounting items separately.
- Mark dimensions, power plug, packaging, quantity and destination requirements.
- Use a POS configuration review when the product direction is known but technical and physical questions remain open.
This is a sample-approval record, not a catalogue exercise
A hardware sample is more useful when the buyer can compare it with a written configuration record. The record should state what is included, where each module sits, which test materials were used and which changes still need review. That makes a later quotation or repeat-order discussion less dependent on memory, a product photo or a generic component list.
A workable self-checkout configuration is not the longest list of modules. It is the clearest agreement about workflow, physical fit and the items that still need to be tested.
A practical self-checkout hardware request format
Use the following fields when comparing a sample or quotation. It is acceptable to mark an item as open; an unknown point is easier to review when it is written down than when it is silently assumed.
Store type and customer workflow:
Preferred kiosk format and available footprint:
Operating-system direction:
Screen and touch requirements:
Scanner and barcode/QR test materials:
Receipt printer and paper-access requirement:
Payment-device position and responsibility owner:
Included peripherals and optional modules:
Power, network, packaging and destination:
Sample quantity, rollout quantity and open acceptance points:
If you already have these fields, you can share the hardware requirements with Tesp for suitable options and a quotation discussion. Tesp can help organize available hardware and supplier feedback; final software compatibility, payment setup and local compliance decisions remain with the buyer’s responsible project team.
FAQ
What should be included in a self-checkout hardware configuration?
Start with the workflow and kiosk format, then record the display, operating-system direction, scanner, printer, payment-device position, power and network needs. Separate included items from project options and write down the questions that still need testing.
Can a self-checkout kiosk use any payment terminal?
The enclosure can be reviewed for mounting space, reach and cable routing, but the final terminal choice depends on the payment project, local requirements and the buyer’s technical validation. Treat payment-device mounting and payment integration as connected but separate checks.
Why should a buyer confirm printer access before a quotation?
Printer access affects routine paper replacement and service. A quotation should clarify the printer scope and the physical service path so the buyer is not comparing a cabinet price with a complete, maintainable configuration.
Does a configuration checklist replace software testing?
No. It makes the hardware scope and acceptance points clearer, but the buyer’s software team should still test the application, scanner data path, payment flow and any local requirements in the intended environment.