
VESA Mount POS Terminal Retail: Counter Depth and Mounting Compatibility Checklist
A mount that fits the screen can still fail the counter, cable and service-access test.
Before choosing a VESA mount POS terminal retail setup, measure the complete installation and confirm the bracket interface instead of relying on screen size.
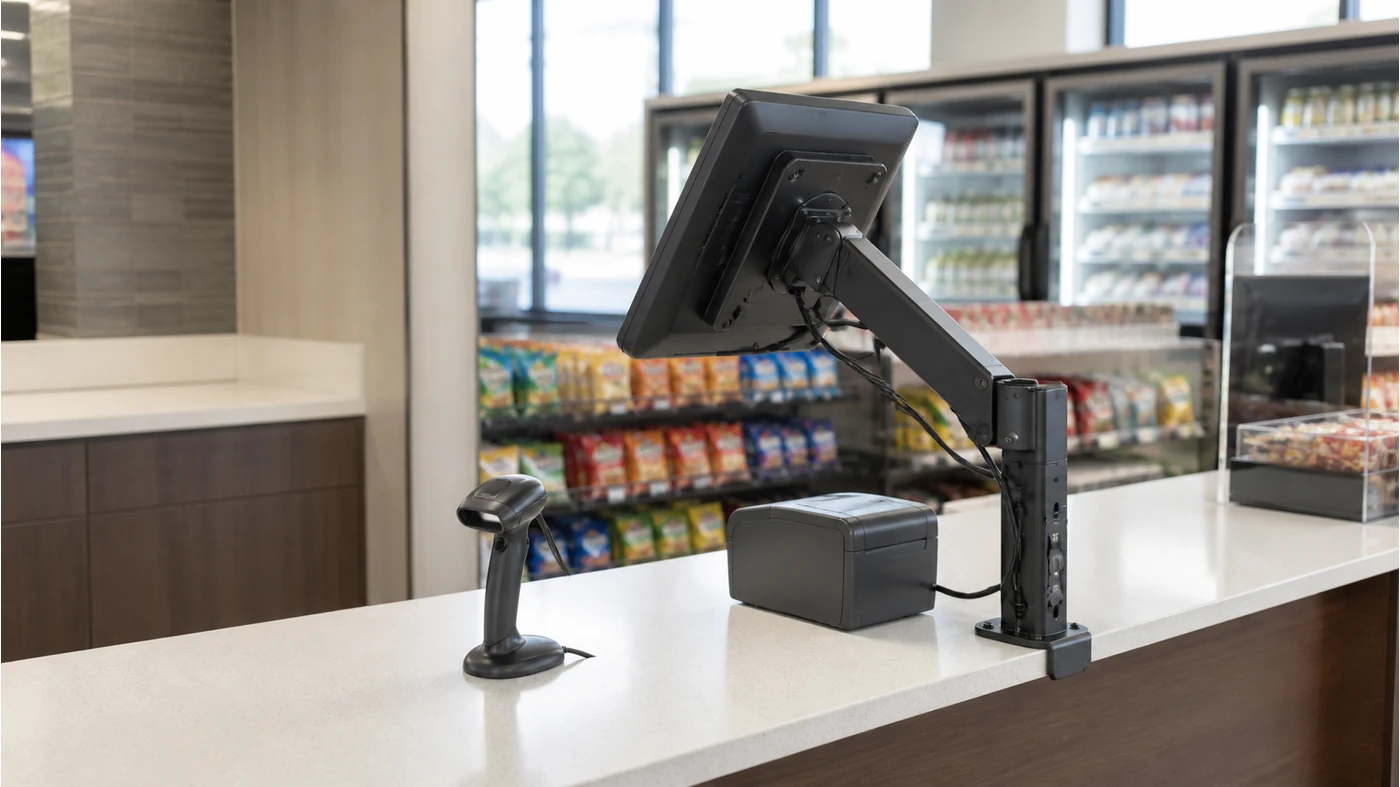
Mounting a POS terminal is often treated as a final hardware accessory decision. In a real store, the mount changes the screen angle, counter footprint, cable bend, printer position and service routine. A terminal can match a common VESA-style pattern and still be unsuitable if the arm cannot carry the weight, the screws are too deep, or the rear cables hit the wall.
The buyer’s job is to turn the installation into measurable requirements before asking for a quote. This is especially important for shallow counters, wall-mounted kiosks, customer-facing displays and stations where the printer or scanner must remain within easy reach.
S3 mounting facts
S3A/S3W are listed with a full-metal aluminum-alloy chassis, 15-inch 1920×1080 display and foldable dual-hinge form. The manual does not state a universal VESA hole pattern or load rating.
Z3 mounting facts
Z3A/Z3W standard configurations use a floor stand and PE tray; optional configurations include wall-mounted or countertop forms. The exact bracket and payment-terminal mounting details must be confirmed per project.
Why counter depth matters as much as the hole pattern
The common POS terminal counter depth measurement is not just the distance from the front edge to the wall. It includes the stand or arm footprint, the rear of the terminal, cable bend radius, power adapter location, printer loading area and the space needed for staff to operate the screen.
Competitor mount guides also warn that screen size alone does not confirm weight, center of gravity, screw depth, port access or ventilation. A buyer should use the hole pattern as one input in a larger installation check, not as a guarantee that every universal bracket will work.
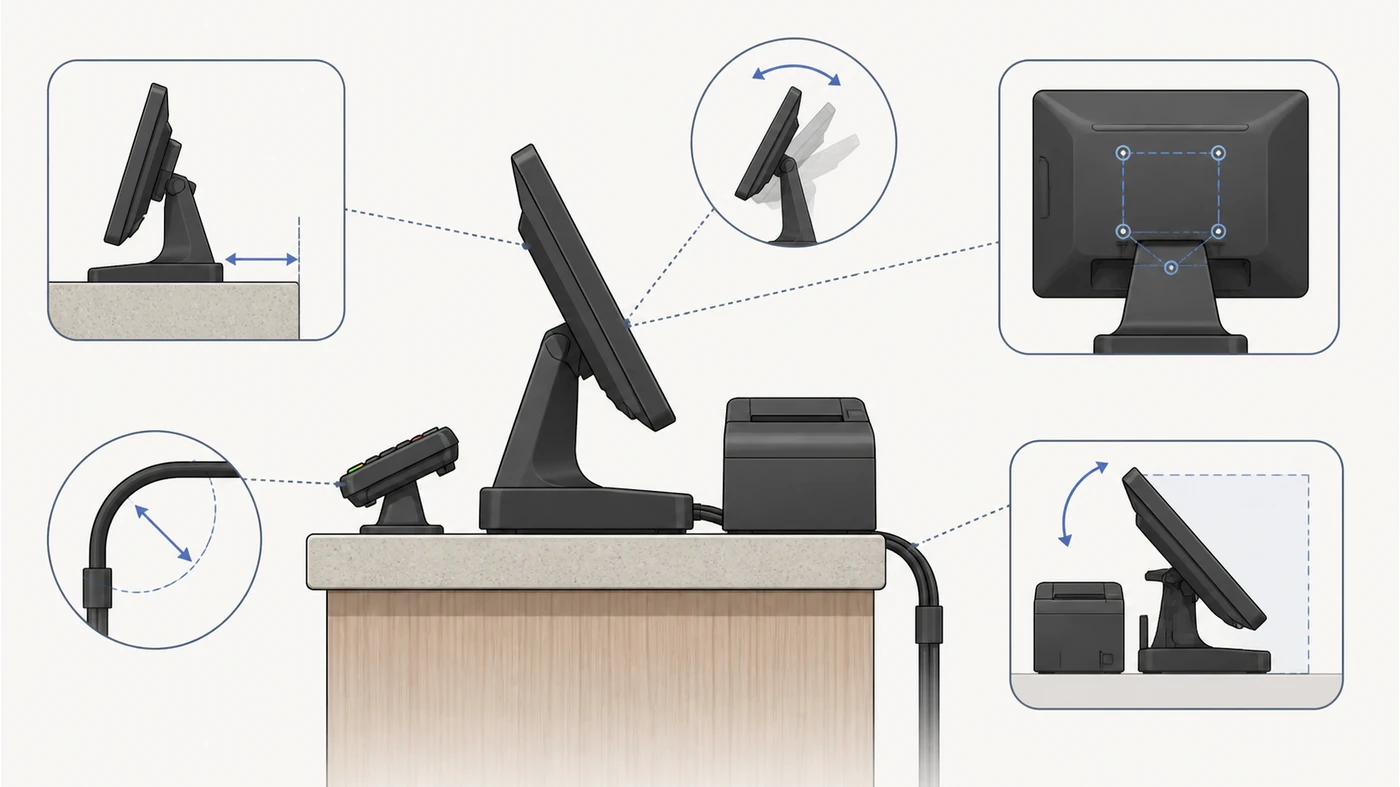
Five checks before selecting a POS terminal mount
1Record the terminal and mounting surface
Start with the exact terminal family and the surface that will carry it. S3’s dual-hinge form, for example, may be used differently from a fixed-back display or a Z3 kiosk body. A counter, wall, pole or custom enclosure each changes the installation requirements.
- Record terminal model, screen size, body dimensions and weight from the quotation.
- Describe the surface material and fixing method.
- Send front, side and rear photos of the installation location.
Acceptance impact: the proposed mount should be reviewed against the actual device and surface, not a similar-looking catalogue product.
2Confirm the mounting hole pattern and screw depth
A VESA-style pattern is useful only when the hole spacing, screw thread, screw length and recessed area match. If the manual does not state the pattern, ask for a mechanical drawing or a supplier-confirmed measurement.
- Request exact horizontal and vertical hole spacing.
- Confirm screw type, thread engagement and maximum screw depth.
- Ask whether an adapter plate or proprietary bracket is required.
Acceptance impact: never drill or force a bracket into the terminal until the supplier confirms that the mounting points are designed for that load.
3Calculate counter depth and cable clearance
The terminal must tilt and rotate without pulling the power, network, USB or display cables. A tight rear gap can also block ventilation or make it impossible to remove a connector during service.
- Measure counter depth from the customer edge to the wall or backsplash.
- Mark the terminal’s rear projection at the maximum tilt.
- Reserve space for cable bends, adapters and a service hand.
Acceptance impact: approve a mount only after the screen can reach the working angle and all cables remain relaxed.
4Place printers, scanners and payment devices around the mount
A mount is part of a station, not a single screen. A receipt printer may need a side-loading path; a scanner needs a stable presentation angle; a payment bracket may need its own reach and cable route. Z3 projects may also add a payment-terminal bracket or other confirmed peripherals.
- Sketch the operator’s hand path from item scan to payment and receipt.
- Check that the mount does not block the scanner window or printer cover.
- Confirm whether payment hardware is attached to the terminal, stand or counter.
Acceptance impact: the final layout should preserve service access and not force staff to reach behind the screen.
5Test movement, stability and maintenance
Adjustable arms add flexibility but also introduce movement and load questions. Fixed stands may be more stable but less adaptable. The right decision depends on how often staff adjust the screen, whether customers touch it and how the site handles cleaning or replacement.
- Test the full tilt and swivel range without cable strain.
- Check stability during normal touch input or customer interaction.
- Confirm how the terminal is removed for repair without dismantling the whole counter.
Acceptance impact: record the mounting hardware and removal procedure with the approved sample so the same installation can be repeated at additional sites.
When S3, Z3 and a countertop stand should not be mixed
S3 is a desktop POS terminal family with a foldable dual-hinge form. Z3 is a self-service or self-ordering terminal family whose standard configuration uses a floor stand and PE tray, with optional wall-mounted or countertop forms. A generic VESA bracket discussion cannot replace the project-specific mechanical review for either family.
If the project is still deciding between a counter terminal and self-service layout, compare the POS terminal range with the self-checkout kiosk range. For an installation that depends on a shallow counter and several peripherals, use the POS product selection service before requesting a final bracket quotation.
Field note: “VESA compatible” should be treated as a starting question. The approval record should also show weight, screw depth, counter depth, cable clearance, tilt range and service access for the exact terminal.
A practical POS mounting request format
Project: [retail counter / wall / kiosk / pole]
Terminal: [S3A / S3W / Z3A / Z3W / other]
Body information: [dimensions / weight / hinge or stand]
Mounting surface: [material / fixing method]
Hole pattern: [spacing / thread / screw depth / adapter]
Counter depth: [front edge to wall or backsplash]
Cable clearance: [power / network / USB / display]
Peripherals: [printer / scanner / payment / customer display]
Movement and service: [tilt / swivel / removal method]
Acceptance test: [stability / touch / cable strain / service access]
Open items: [supplier drawing and bracket confirmation]
When you have the product, installation and quantity requirements, you can share them with Tesp. Tesp can help compare terminal and mounting options and follow up on supplier drawings; the final structural installation should be approved by the buyer’s installer or technical team.
FAQ
Does a VESA mount automatically fit any POS terminal with the same screen size?
No. Screen size does not confirm hole spacing, screw depth, weight, center of gravity, port access or ventilation. Ask for the exact terminal drawing and match it to the bracket before ordering.
What is the most important POS terminal counter depth measurement?
Measure the full working envelope: terminal body, stand or arm, maximum tilt, cable bend and service access. The front-to-wall distance alone can be misleading if the rear connectors or adapter are deeper than the display.
Can Z3 be changed from a floor-standing kiosk to a countertop POS terminal?
The manual lists optional wall-mounted or countertop configurations for Z3. The exact base, tray, payment bracket, cable route and stability requirements should be confirmed as a new configuration rather than assumed to be a simple stand swap.