
Countertop POS Terminal Deployment Checklist for Retail Stores
A countertop POS terminal can fit the counter and still fail at deployment.
The real test is the complete last meter: ports, cables, peripherals, power, network access and the operator’s working space.
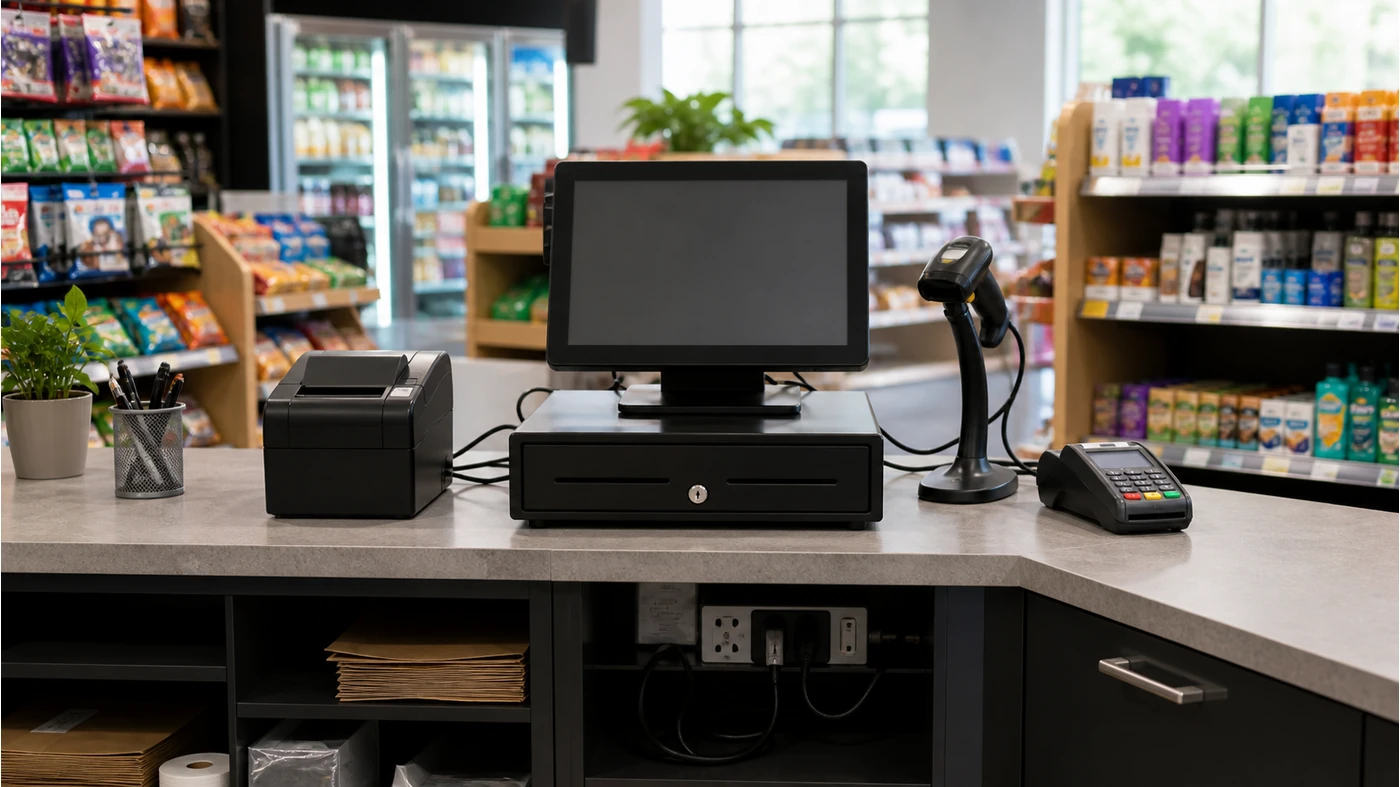
This countertop POS terminal deployment checklist is for retail software teams, POS dealers and integrators preparing a real checkout station. It does not begin with screen size. It begins with the movement of an item, the operator’s hands, the receipt, the payment device and the service space behind the counter.
A good countertop POS terminal setup for retail also leaves room for maintenance. A device that works only when every cable is bent tightly or every accessory is placed in front of the printer is not a stable deployment.
Front-of-counter check
Confirm viewing angle, scanner reach, receipt exit, customer display and payment handoff.
Behind-the-counter check
Confirm port access, cable radius, power distribution, network route and service clearance.
Why the last meter needs its own checklist
Competitor deployment guides correctly focus on peripherals, but the same device can behave differently when the cable route, power source or counter depth changes. A supplier quotation should therefore separate the terminal specification from the physical deployment assumptions.
Five checks before the first store goes live
1. Map the operator workflow
Draw the sequence from item presentation to payment and receipt. Decide whether the scanner is handheld or presentation-style, whether the printer is beside or under the screen, and where the cash drawer opens.
- Operator reach and dominant hand
- Scanner presentation angle
- Receipt collection and customer handoff
- Cash drawer opening direction
2. Confirm ports before choosing accessories
A POS terminal ports and peripherals checklist should list the exact interface for every attachment. USB is not interchangeable with RS232, Ethernet or a cash-drawer port simply because all are “connected devices.”
- Port type and available quantity
- Power output and external adapter requirement
- Printer and scanner interface
- Payment terminal and customer display route
3. Check power and network together
Separate power adapters may consume the space that the installer expected for the cash drawer. Network cables also need a route that does not cross the operator’s feet or block service panels.
- Outlet position and plug standard
- Adapter count and cable length
- Ethernet, Wi-Fi or cellular assumption
- Restart and network-recovery procedure
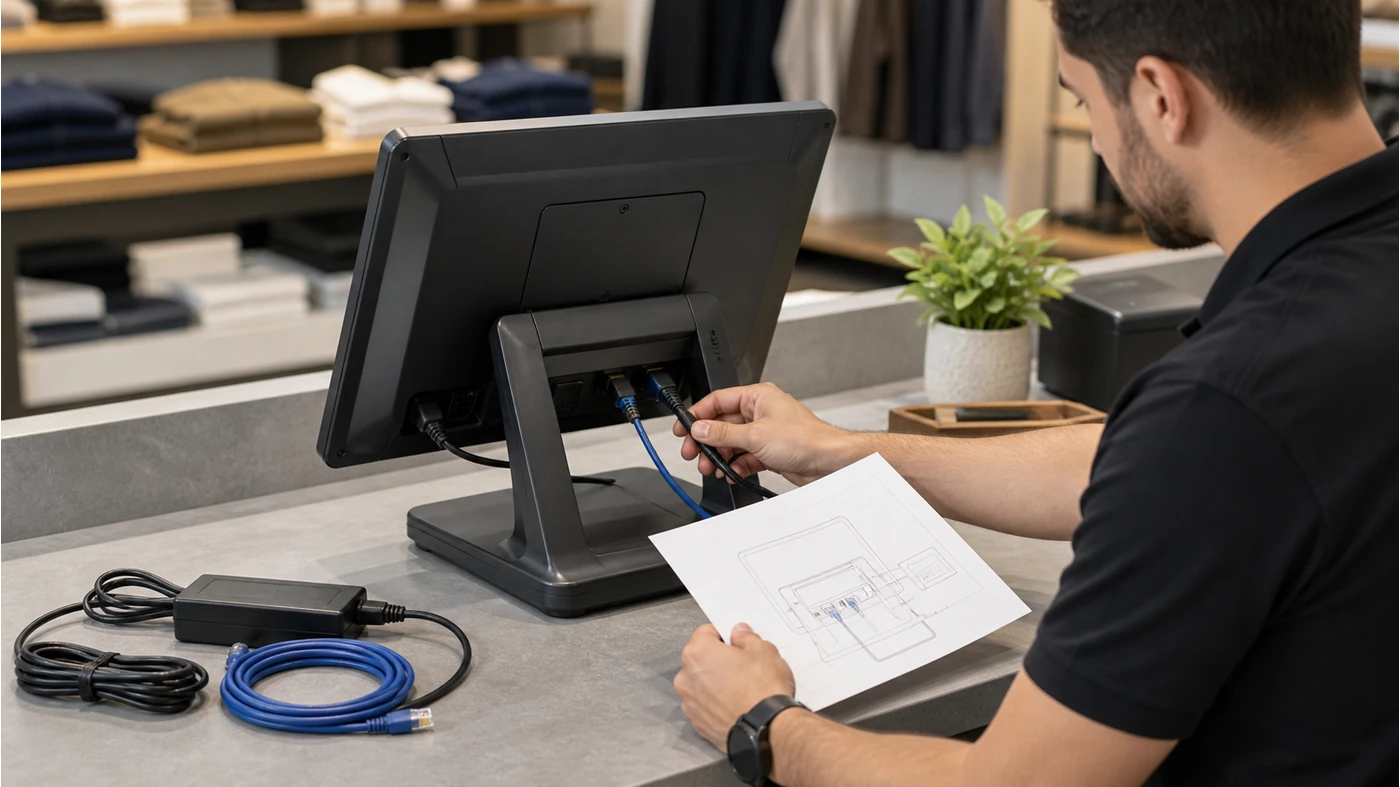
4. Test service access, not only checkout speed
During a pilot, disconnect and reconnect the scanner, replace receipt paper, reach the power switch and inspect the rear ports. These small actions expose whether the countertop POS hardware configuration is practical for store staff.
- Paper replacement and printer access
- Scanner cable and connector access
- Rear panel clearance
- Recovery after power or network interruption
5. Record the deployment version
For multiple locations, record the terminal model, peripheral model, cable route and software build as one version. If a supplier substitutes an accessory, the change should trigger a new compatibility check.
- Approved hardware and accessory list
- Photo of the accepted station
- Software build and test date
- Substitution approval owner
Choose a terminal by the work surface, not the catalogue photo
Use the POS terminals range as the starting point, then compare the actual station with the retail POS hardware solution. If the project includes a second screen or a non-standard peripheral, request a configuration review before committing to a larger quantity.
Tesp can help organize the terminal, peripheral and quote inputs. The buyer or software team should complete the final application test. When the physical requirements are clear, contact Tesp with the station details.
Copy-ready deployment brief
Store format and counter depth:
Terminal screen and OS:
Scanner type and mounting position:
Printer, cash drawer and payment device:
Ports and cable lengths:
Power plug and network route:
Service-clearance requirement:
Pilot test and approved station photo:
FAQ
What is the most common countertop POS deployment mistake?
Choosing the terminal before mapping the peripherals and cable route is common. The result is often a station that works in a photo but is difficult to service or operate.
Should the POS terminal and printer be tested together?
Yes. The software team should test the actual printer connection, receipt formatting and recovery behavior with the proposed terminal. A separate printer test does not prove the complete checkout path.
How should a retailer document a multi-store rollout?
Keep one approved station photo and configuration sheet for each hardware version. Any substitution should be recorded and retested before it reaches more stores.